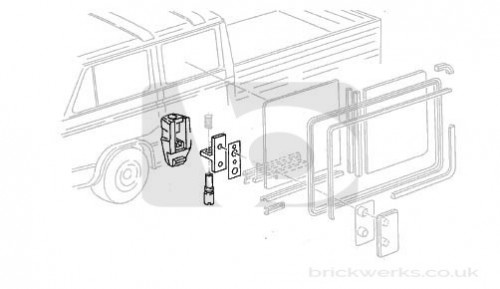
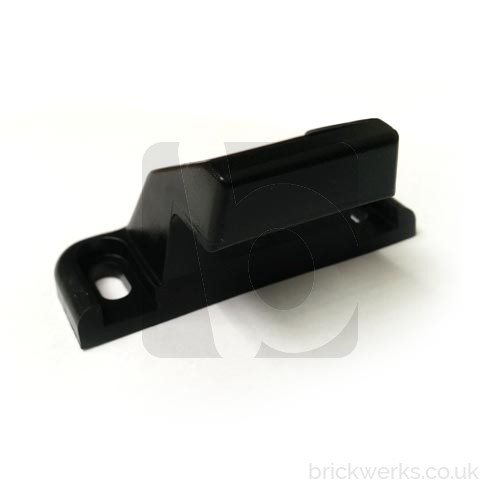
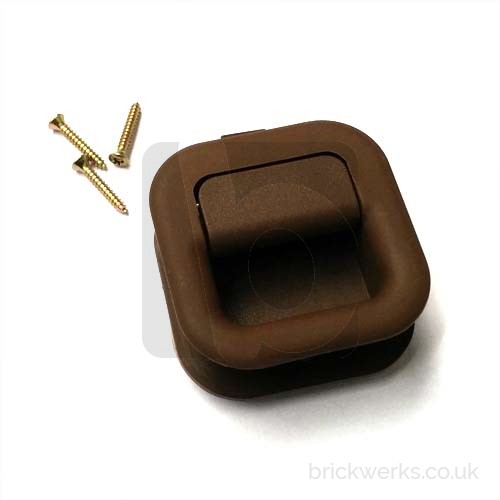
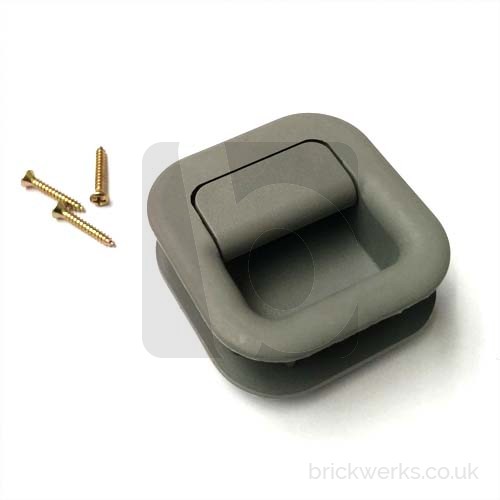
If the mails and calls we receive regularly are anything to go by, these are the bane of some T3 owners lives… and T4 and LT owners too!
So, we now stock all the available components, and in fairness the ones that fail… the Handle, the Locking Pin, Support Bracket and Internal Seal.
We’re working on the other bits, but these will make many people a bit more secure for the time being.
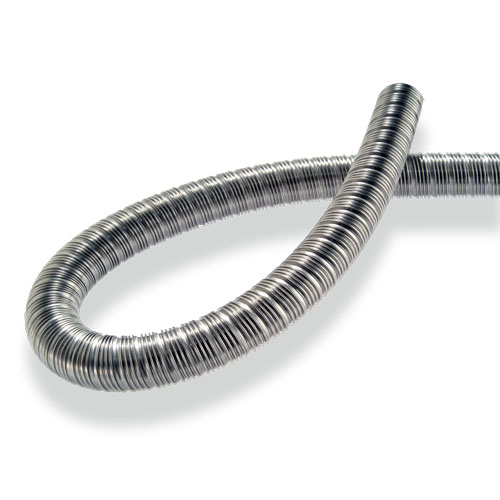
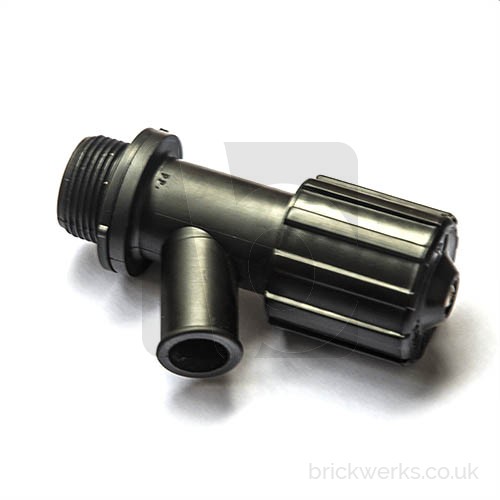
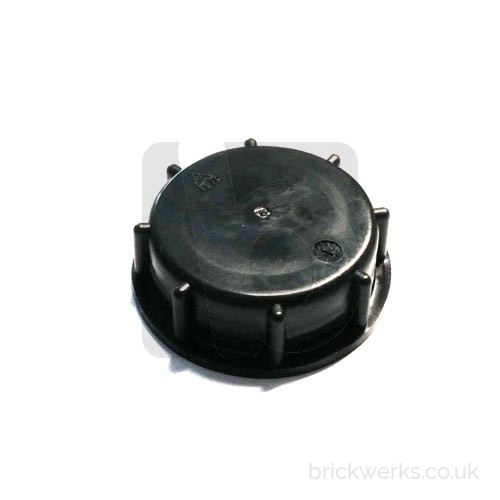
As a workshop we fix the stuff we sell parts for… and there is nothing worse than having the dregs of a customers dirty dish water dripping on you as you walk under the ramp.
On a Westfalia its either a missing or damaged drain tap, or the large cap missing or not sealing.
We now have both in stock at a great price… so if you send your Westy in for repair with a leaky/missing one, don’t be surprised if it gets replaced 😀
On a VW T3, from the factory there were 4 different ignitions coils fitted throughout the production run, one of them was only used in some African countries on models fitted with points style ignition and are unlikely to see them here so they will be glossed over.
Early vans were air cooled, the 1.6l “CT” engine and the 2.0l “CU” engine, they used what we call the early coil, it had DIN connection for the king lead, when the WBX joined the ranks then they too used the early coil. In July 1984 they swapped from the early DIN coil to the later “sawtooth” style connection at Chassis number WV2 ZZZ 25 Z EH 155 001
The later coils as fitted to everything else, these could either have a green coloured label on them or a grey label. ETKA [VW’s Electronic Parts Catalogue] is a little confusing regarding what vehicles have the green and which have the grey label, in fact the information is contradictory.
It turns out that vehicles with a grey label on their ignition coil were for vehicles with extended service intervals, basically they could go longer between having a service and as such had different 3 earth electrode spark plugs.
We feel the best way to get the right coil is just to fit what was on there originally.
A faulty ignition coil could cause a few different problems, we find that they start to give flat spots while driving, this is usually a sign they are past their best. They can be checked with a multimeter set to ohms (more on that later).
An ignition coil is basically a step up transformer encased in steel (or laterly aluminium) and filled with oil, there are 2 circuits, a primary and a secondary, the primary is the low voltage side, the secondary is where the high voltage is induced. 12v is supplied to the primary circuit and around 35000v is induced in the secondary coil which is then fed via the king lead to the distributor cap where it is dished up to the correct cylinder.
The primary circuit, this is the low voltage side, the outer terminals on the body. One is marked “15”, this is ignition live [Black wire]. The other terminal is marked “1”, this is what’s called the tachometric signal, this is the switched earth supplied by your ignition module to turn the coil on and off [Green wire].
The secondary circuit is between terminals 1 and 4, the green wire terminal and the HT output to the distributor cap.
Obviously you disconnect the electrical connections from the coil before you get busy with your Ohmmeter as you want to measure the resistance of the coil and not the rest of the ignition system too!
The expected resistances are listed in the table below.
VW No
Bosch No
Fitted to
Primary
Secondary
Early
211 905 115 B
0 221 122 023
CT, CU, DF, DG
.52Ω to .76Ω
2.4kΩ to 3.5kΩ
Up to
24 E 155 000
Late – Green label
211 905 115 D
0 221 122 349
DF,DG,DH,GW,DJ,MV,SS,SR
.5Ω to .8Ω
2.4kΩ to 3.5kΩ
From
24 E 155 001
Late – Grey label
191 905 115 A/B/C
0 221 122 399
DF,DG,SP,DJ
.6Ω to .8Ω
6.9kΩ to 8.5kΩ
Testing the secondary resistance with an Ohmmeter
After testing, if you find the Ohms readings are out of specification then it’s time to change the coil, it’s as simple as that!
We recently had a van in for a service, usual thing, customer wanted loads of unimportant jobs doing but had neglected the important jobs.
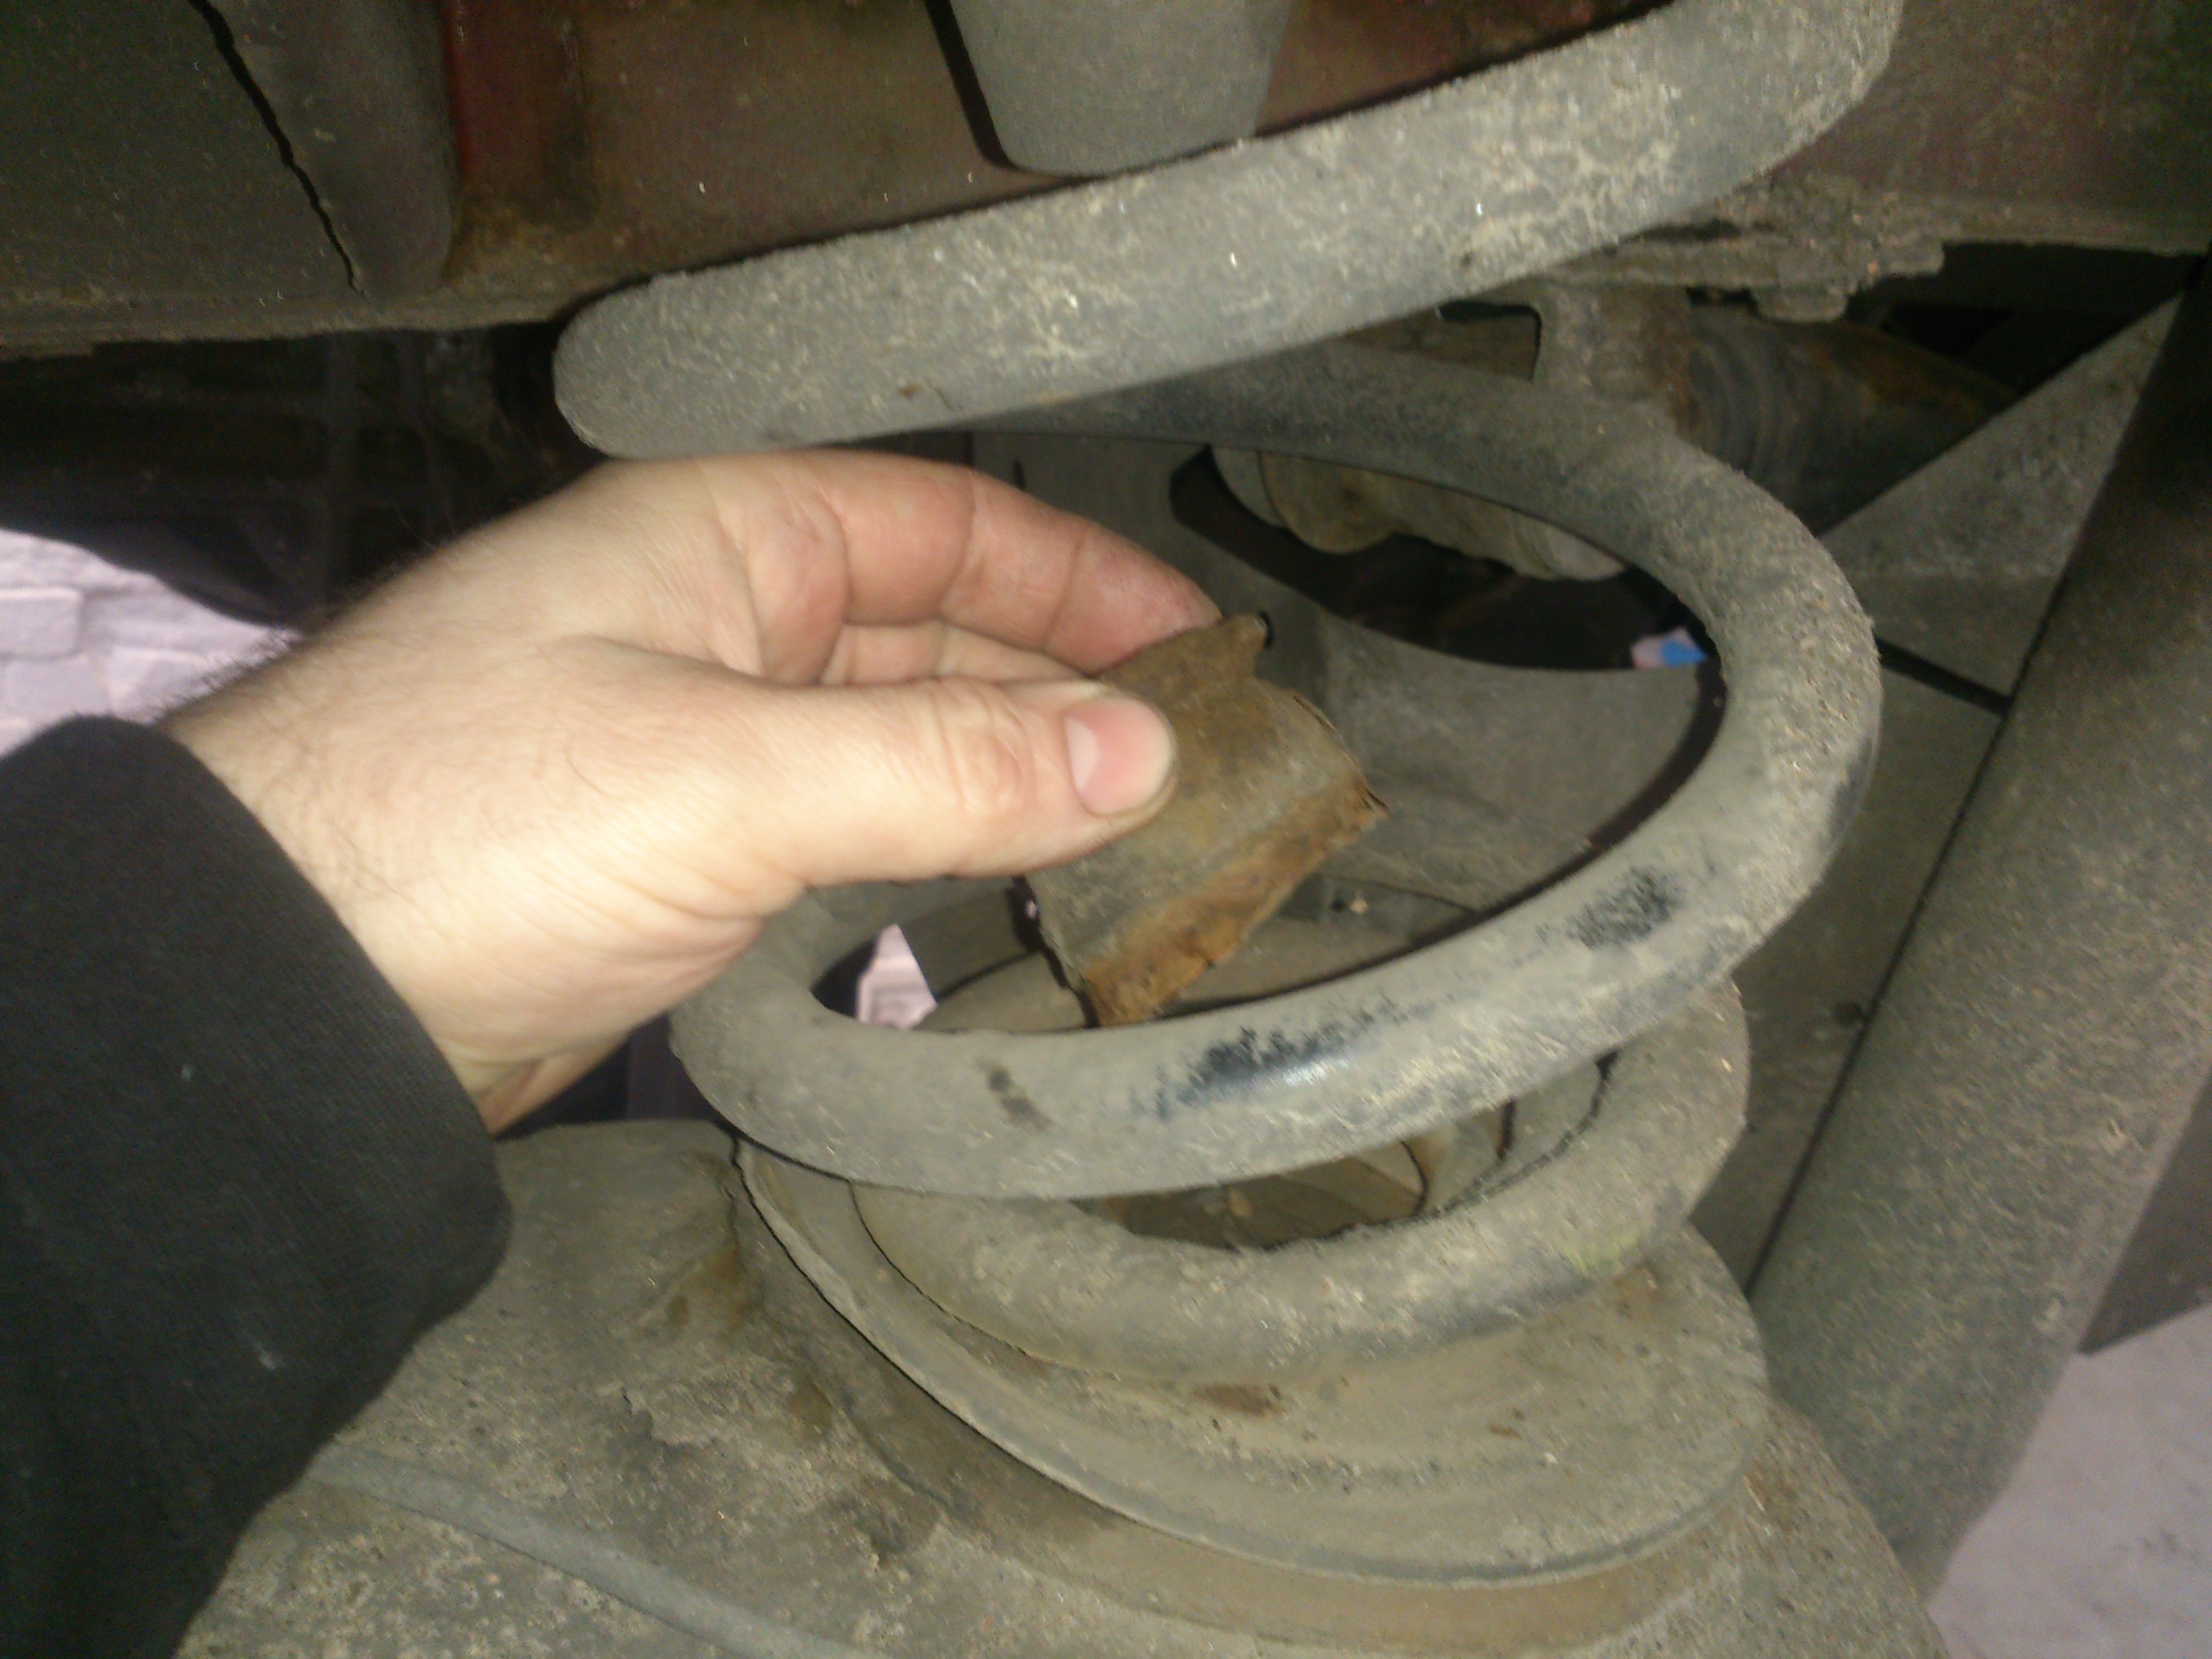
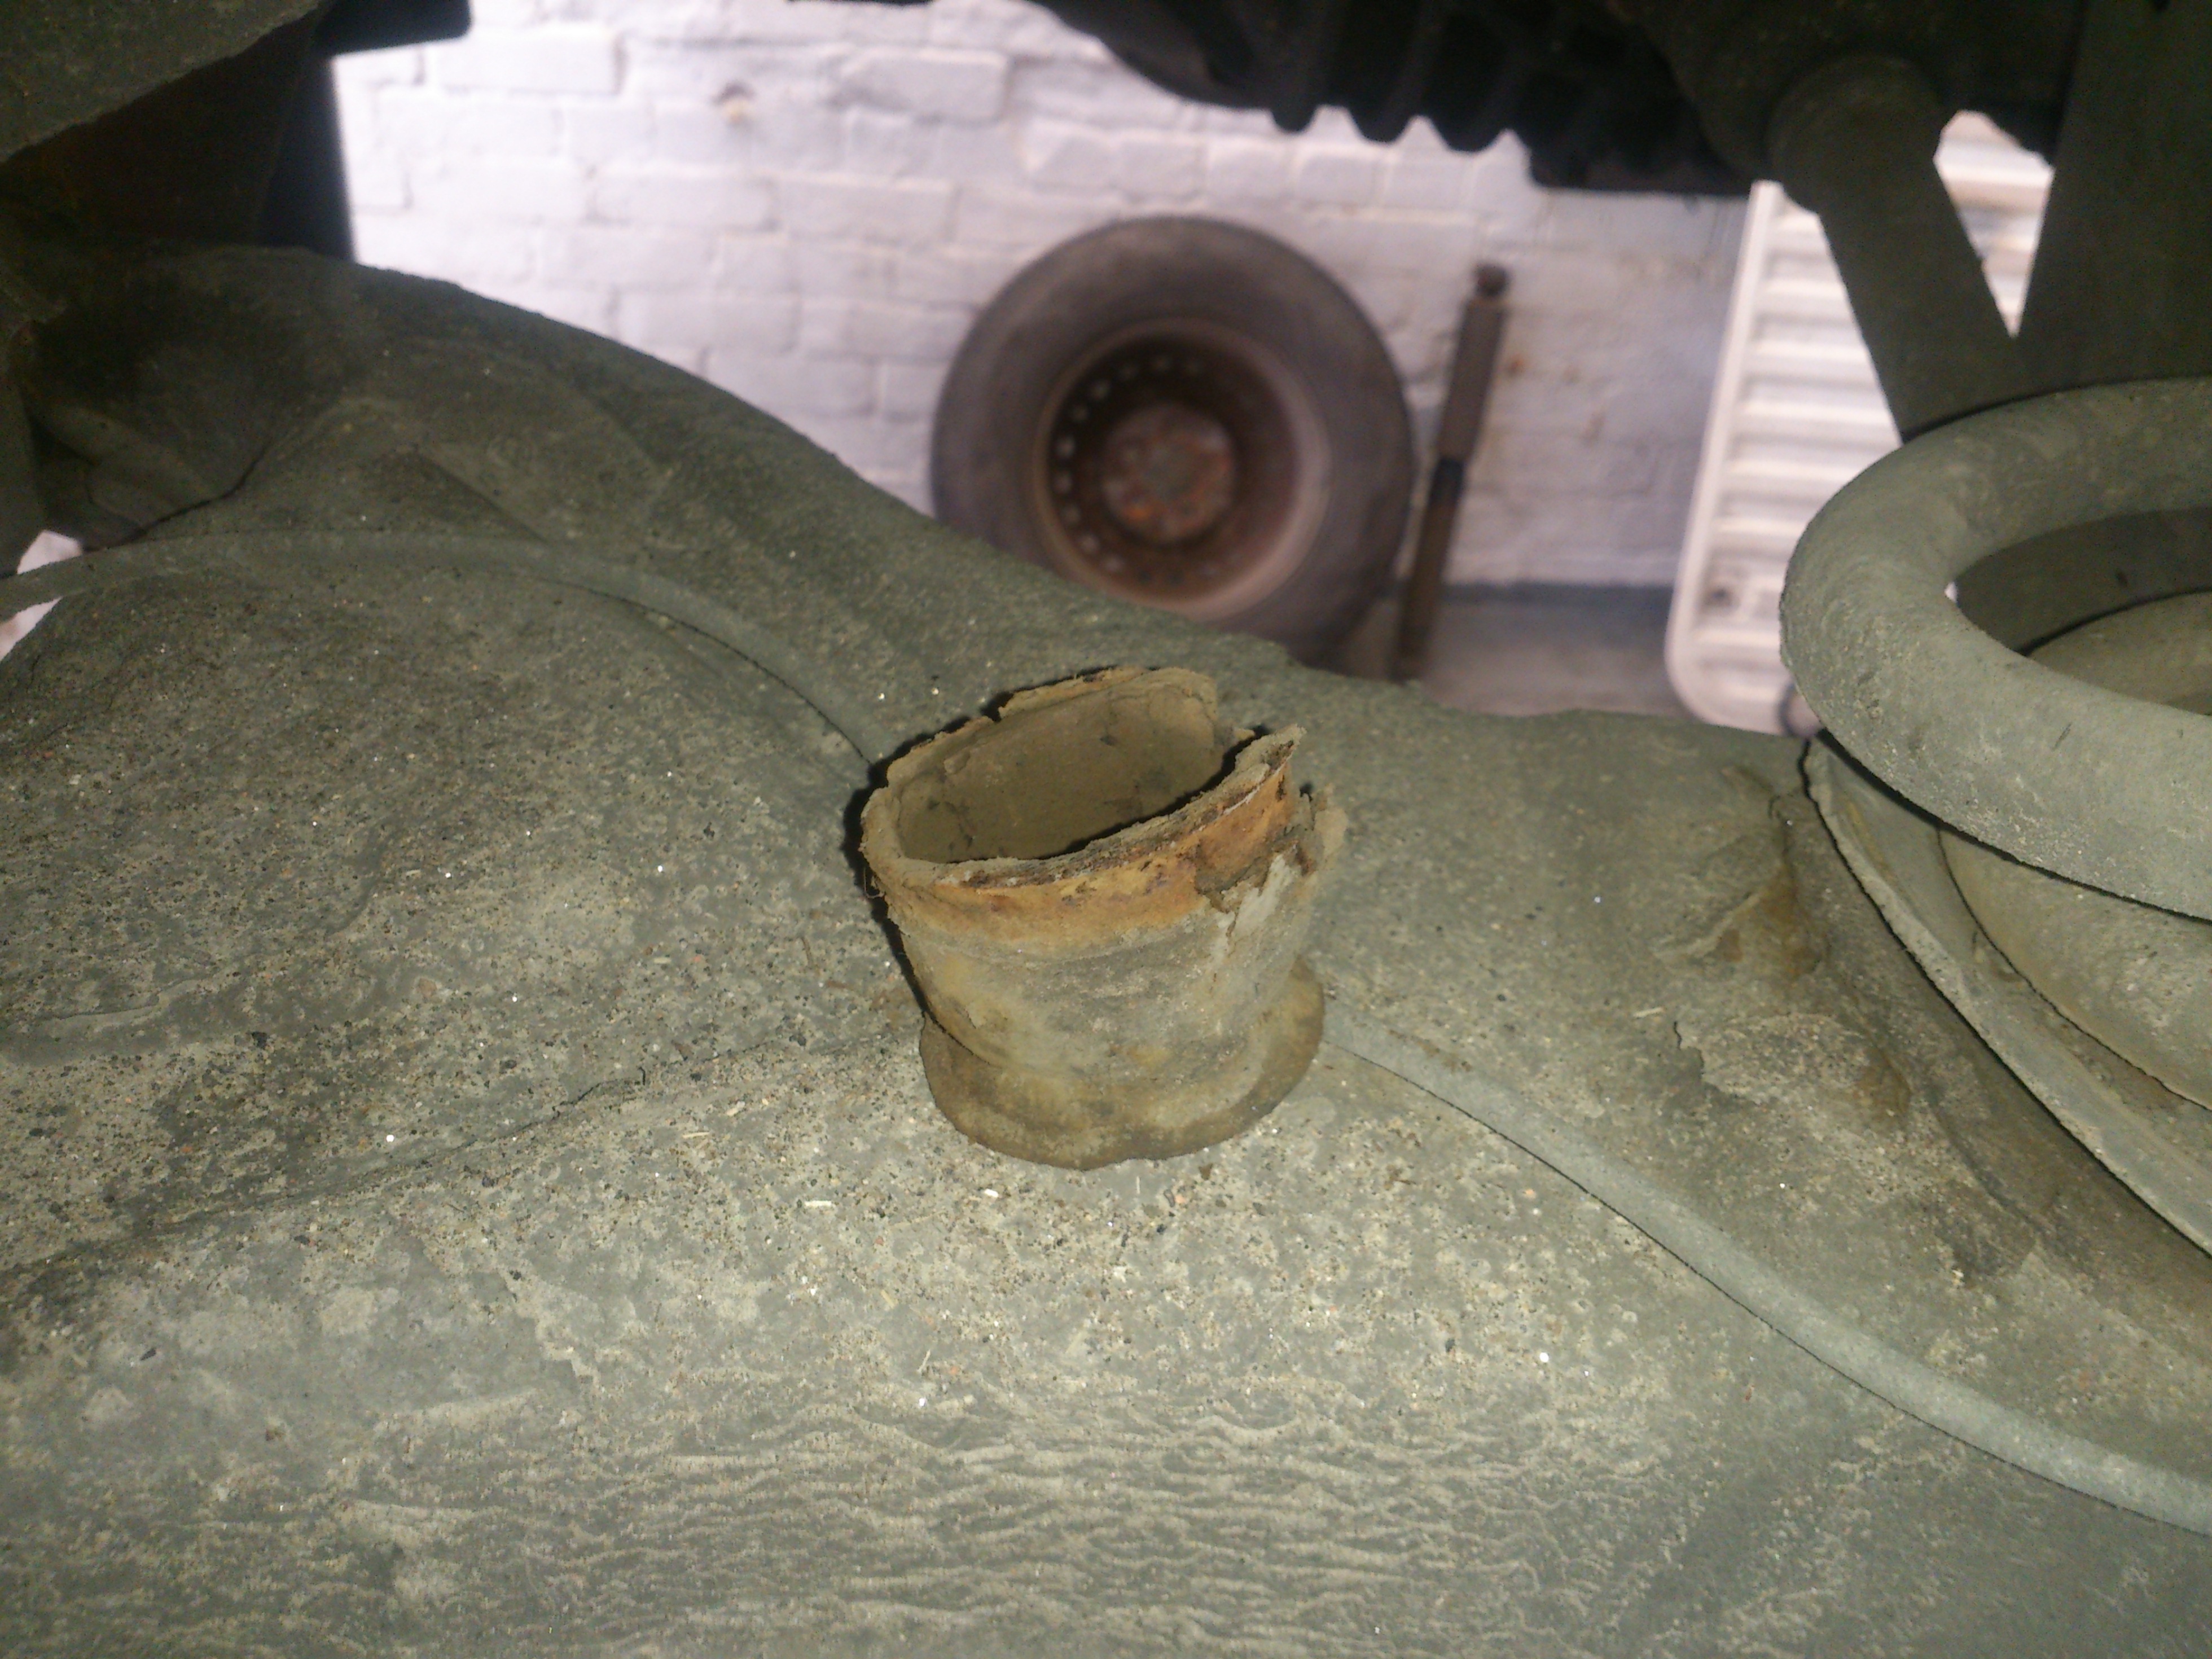
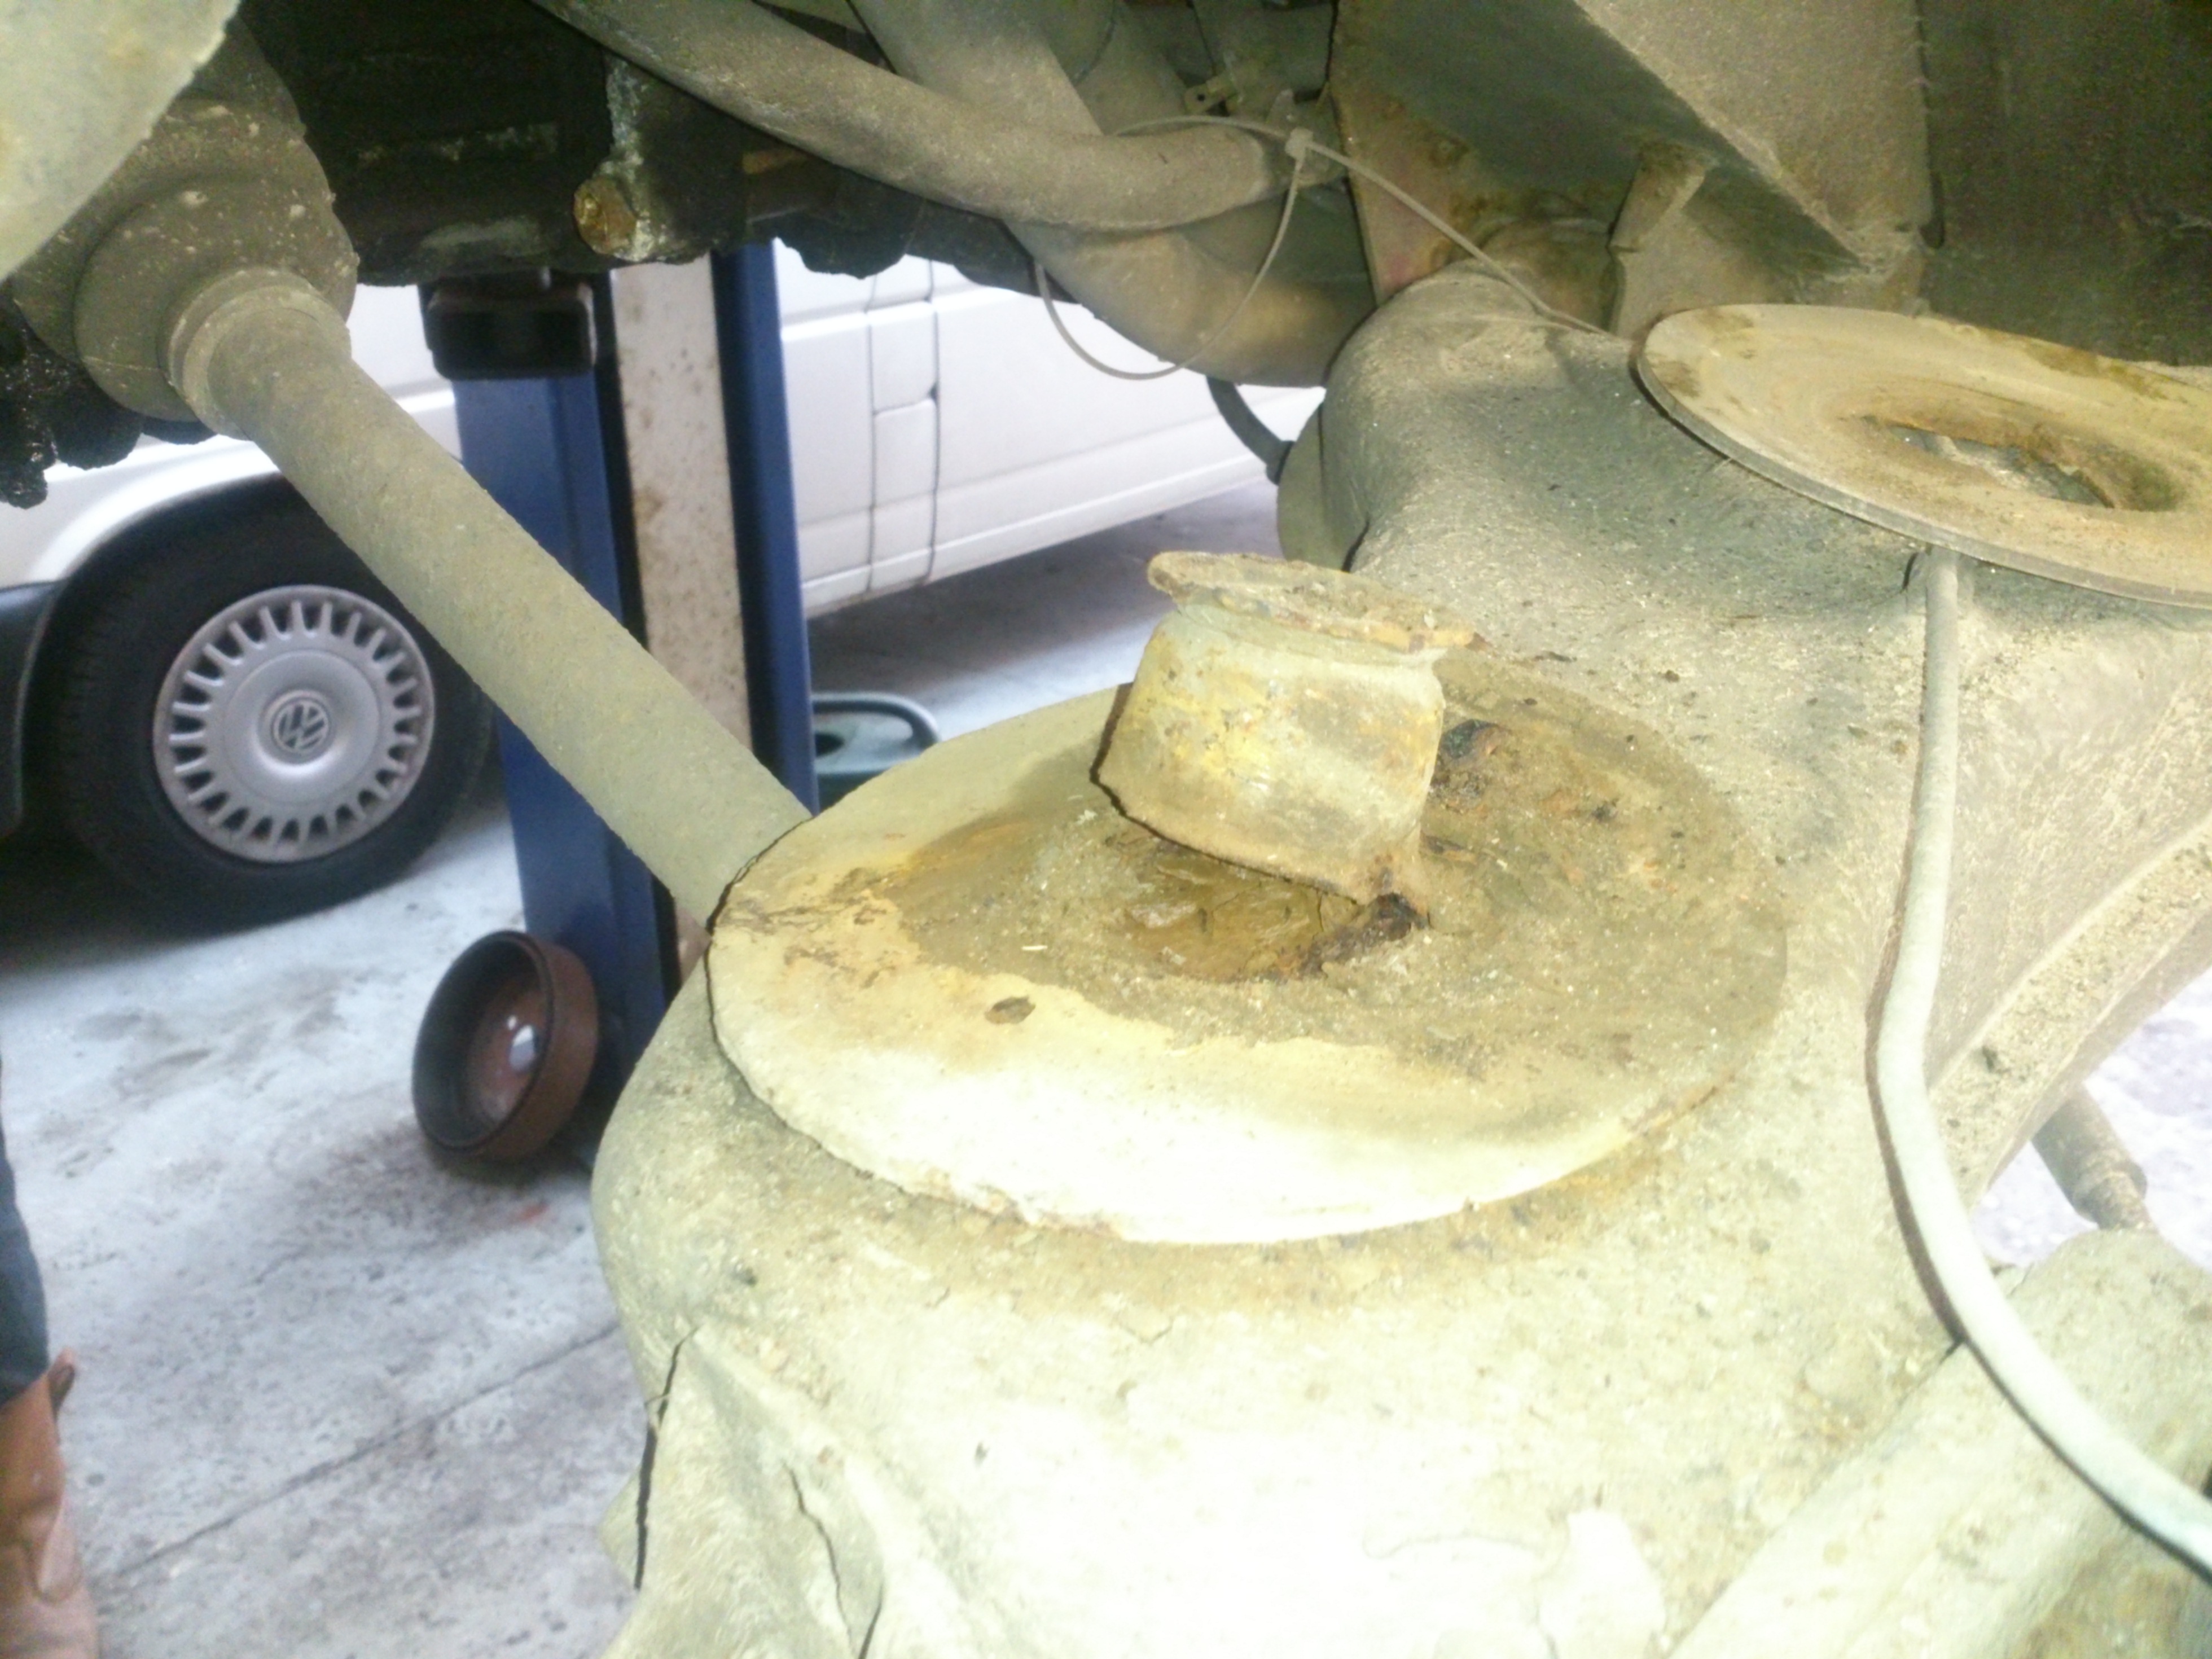
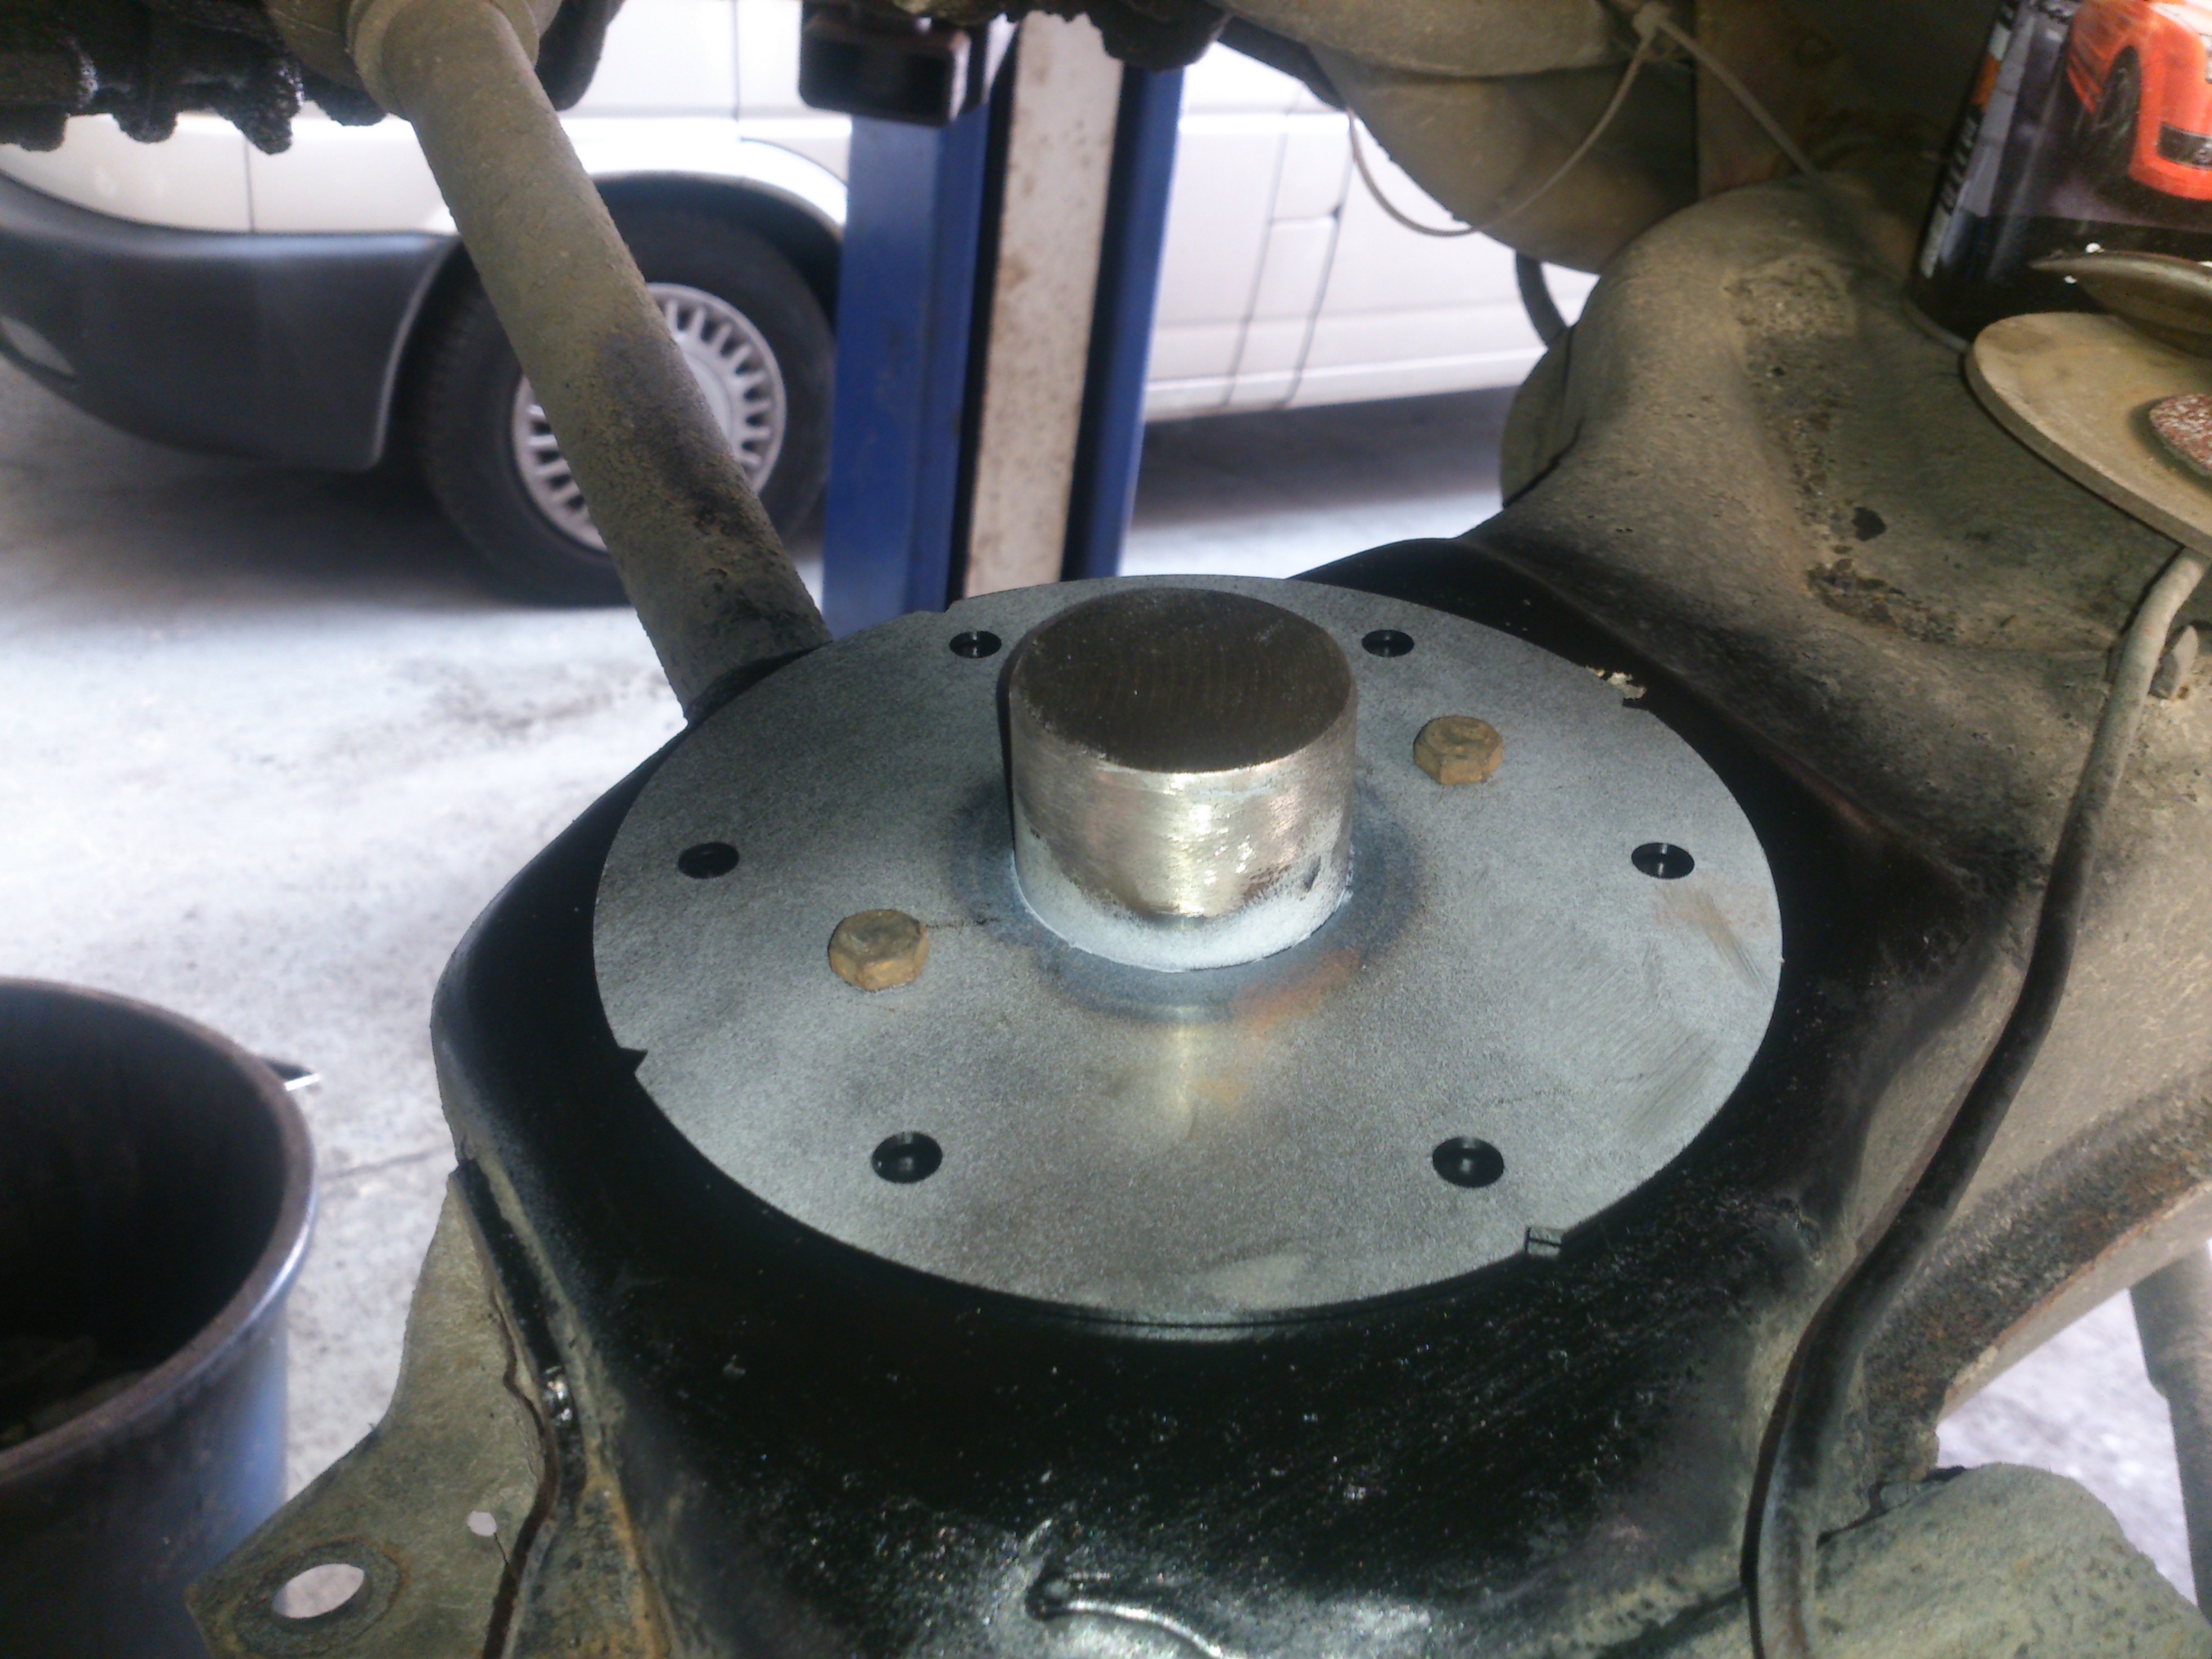
Once the van was here it was decided we best check the van over and get a list of faults, one of which was the trailing arm spring perches had dropped off.
Anyway, we couldn’t let the customer out of the workshop with a van like this as any speed bump or pot hole could see a loud “twang” and the rear springs dancing around in the road!
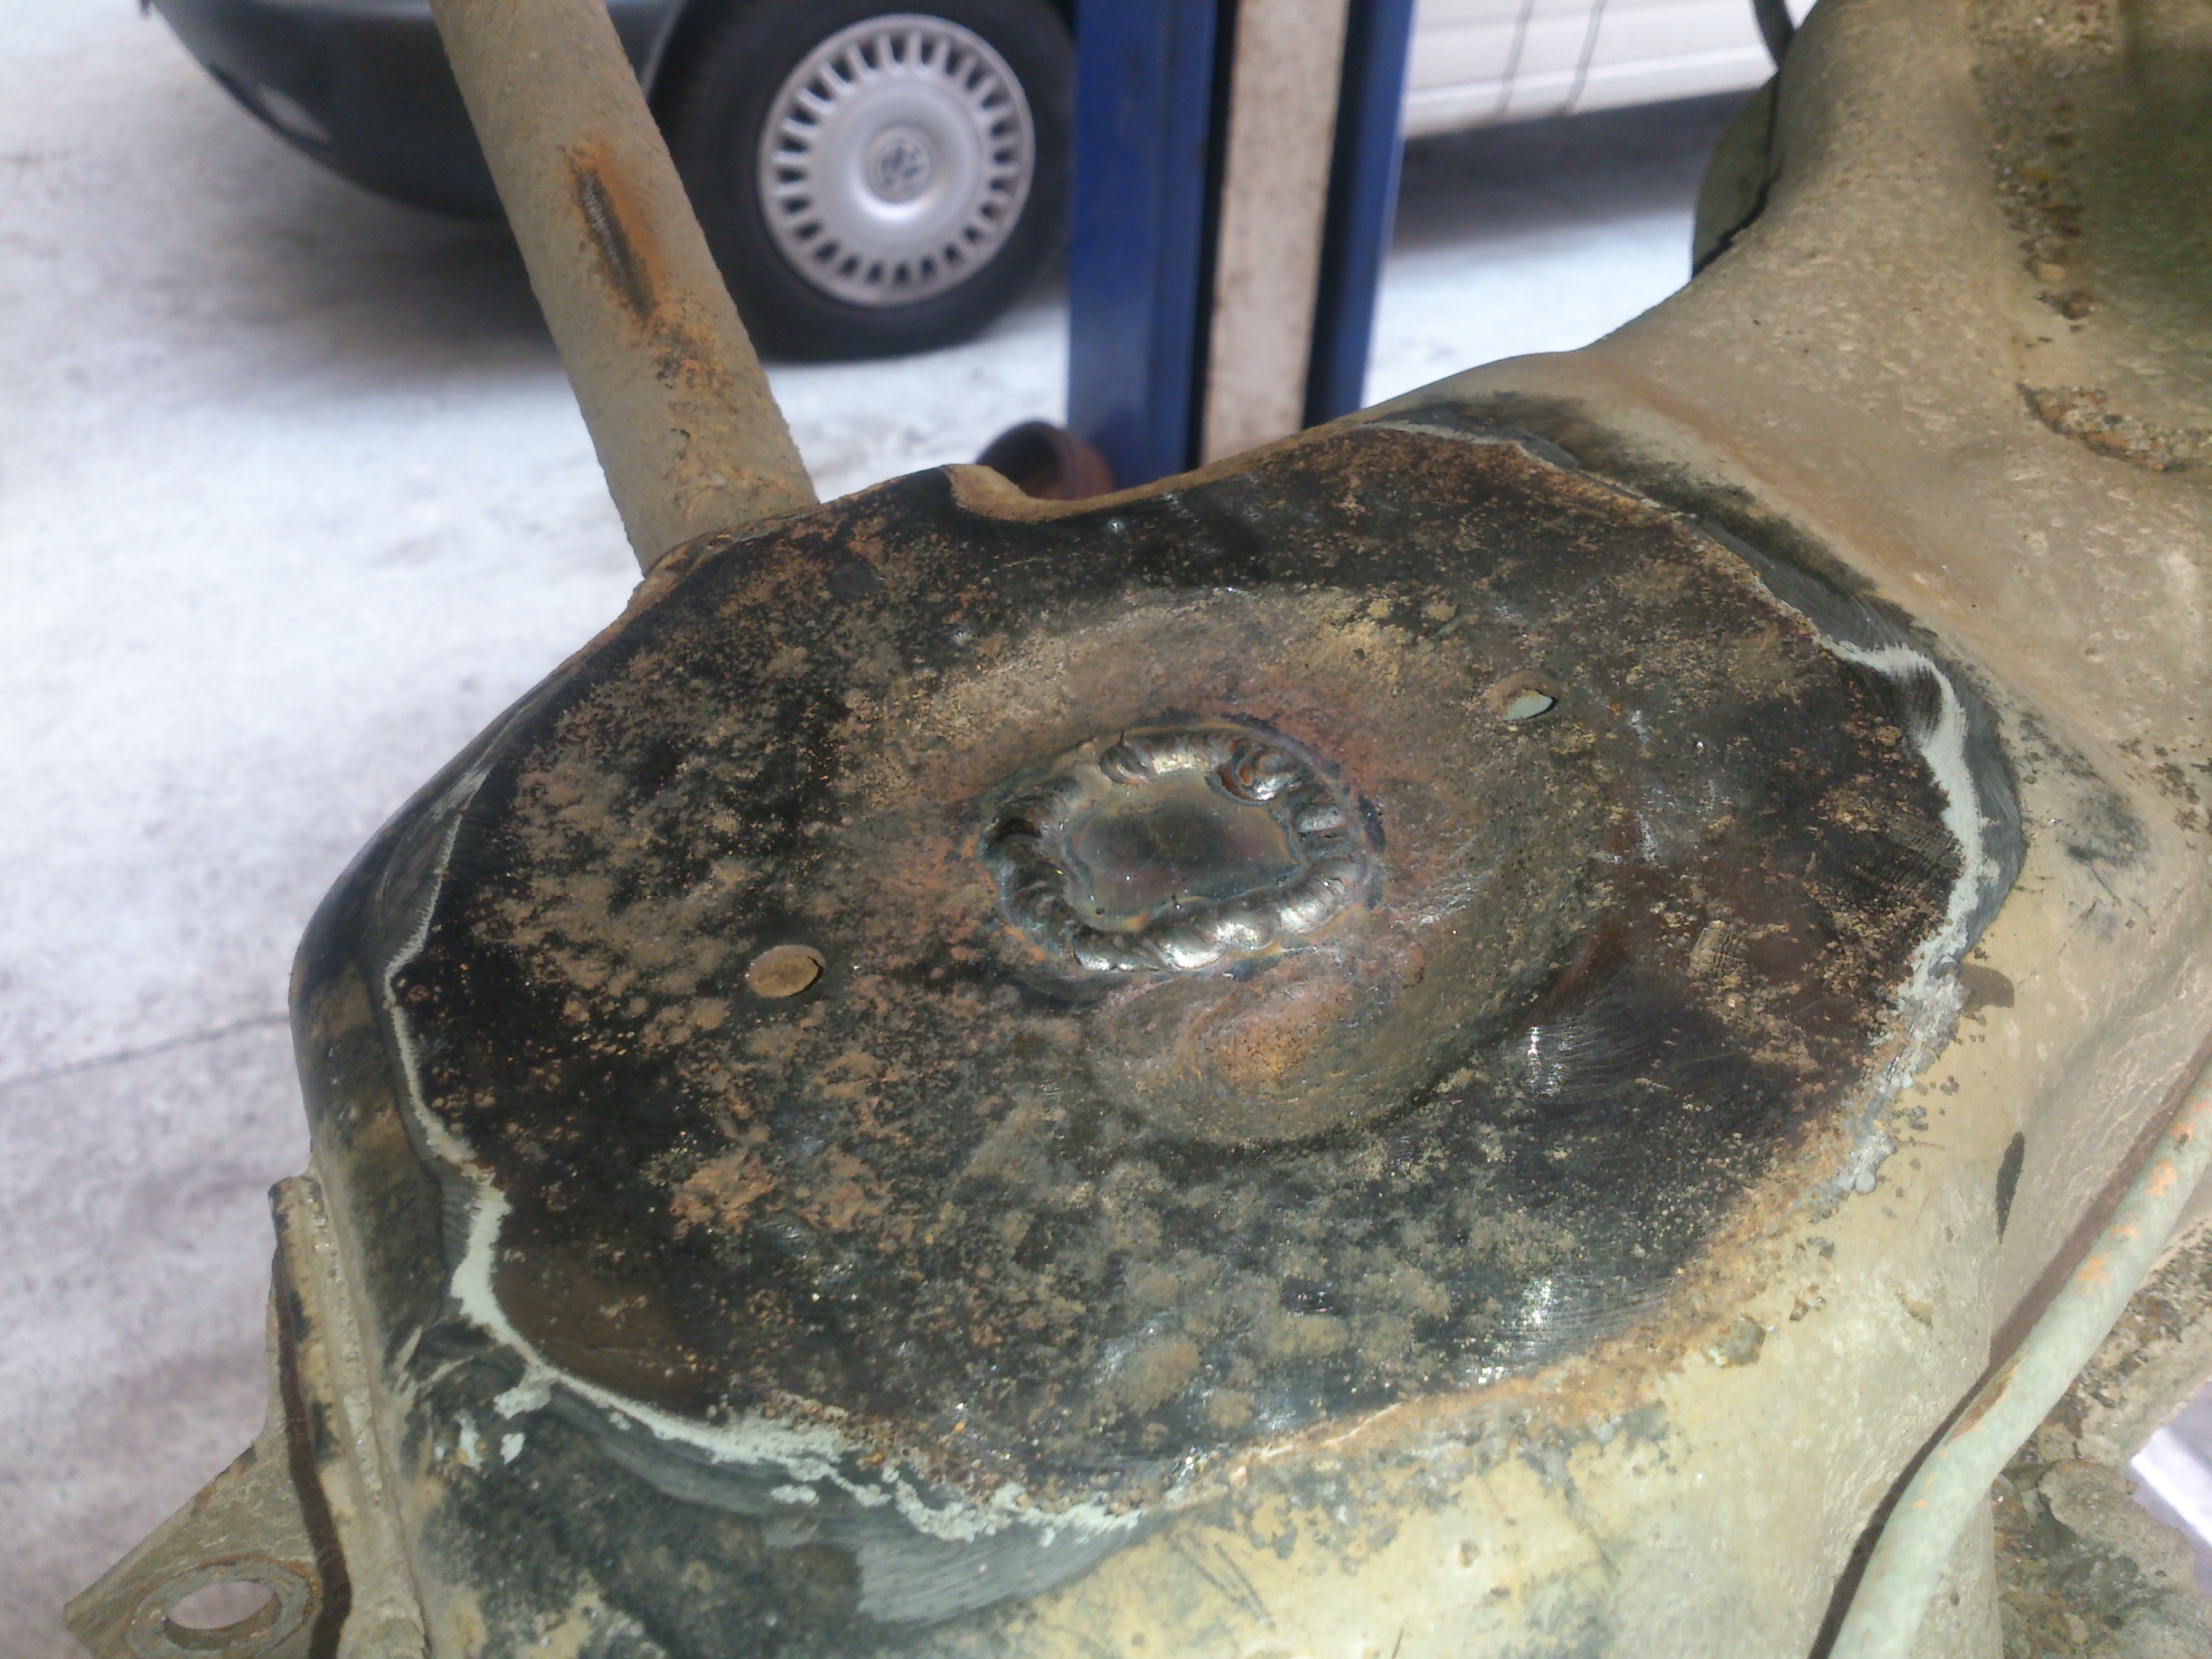
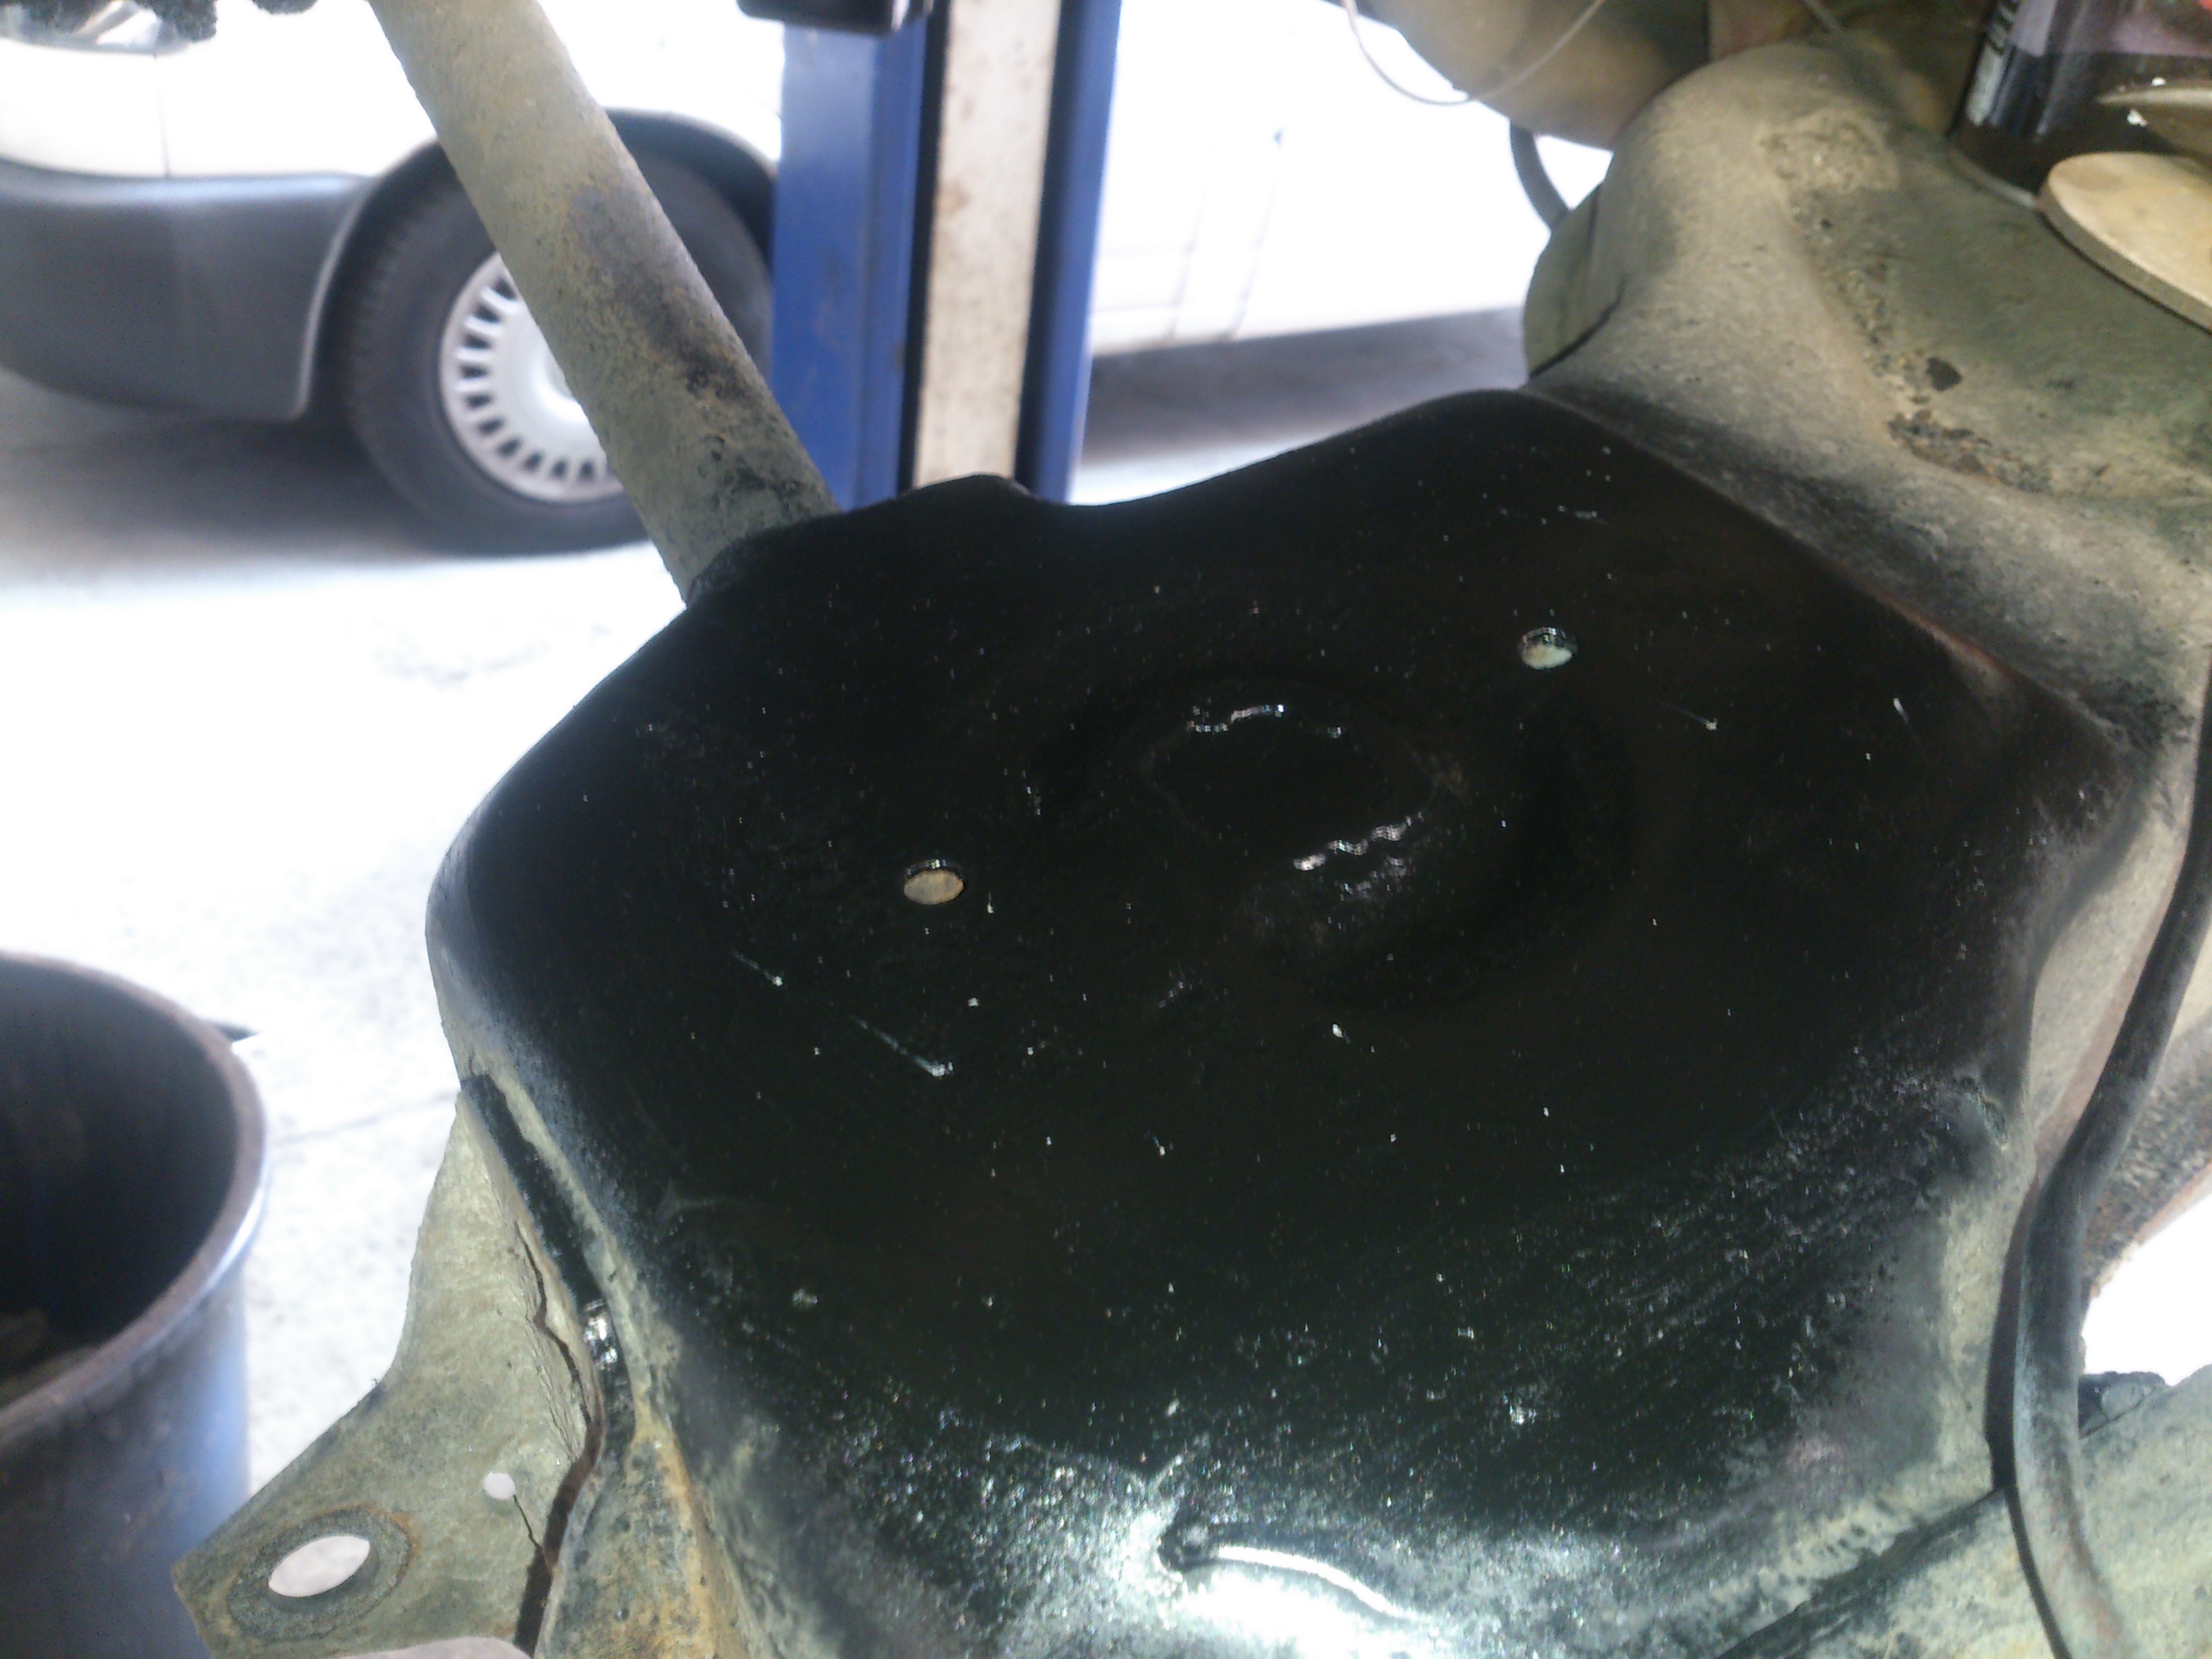
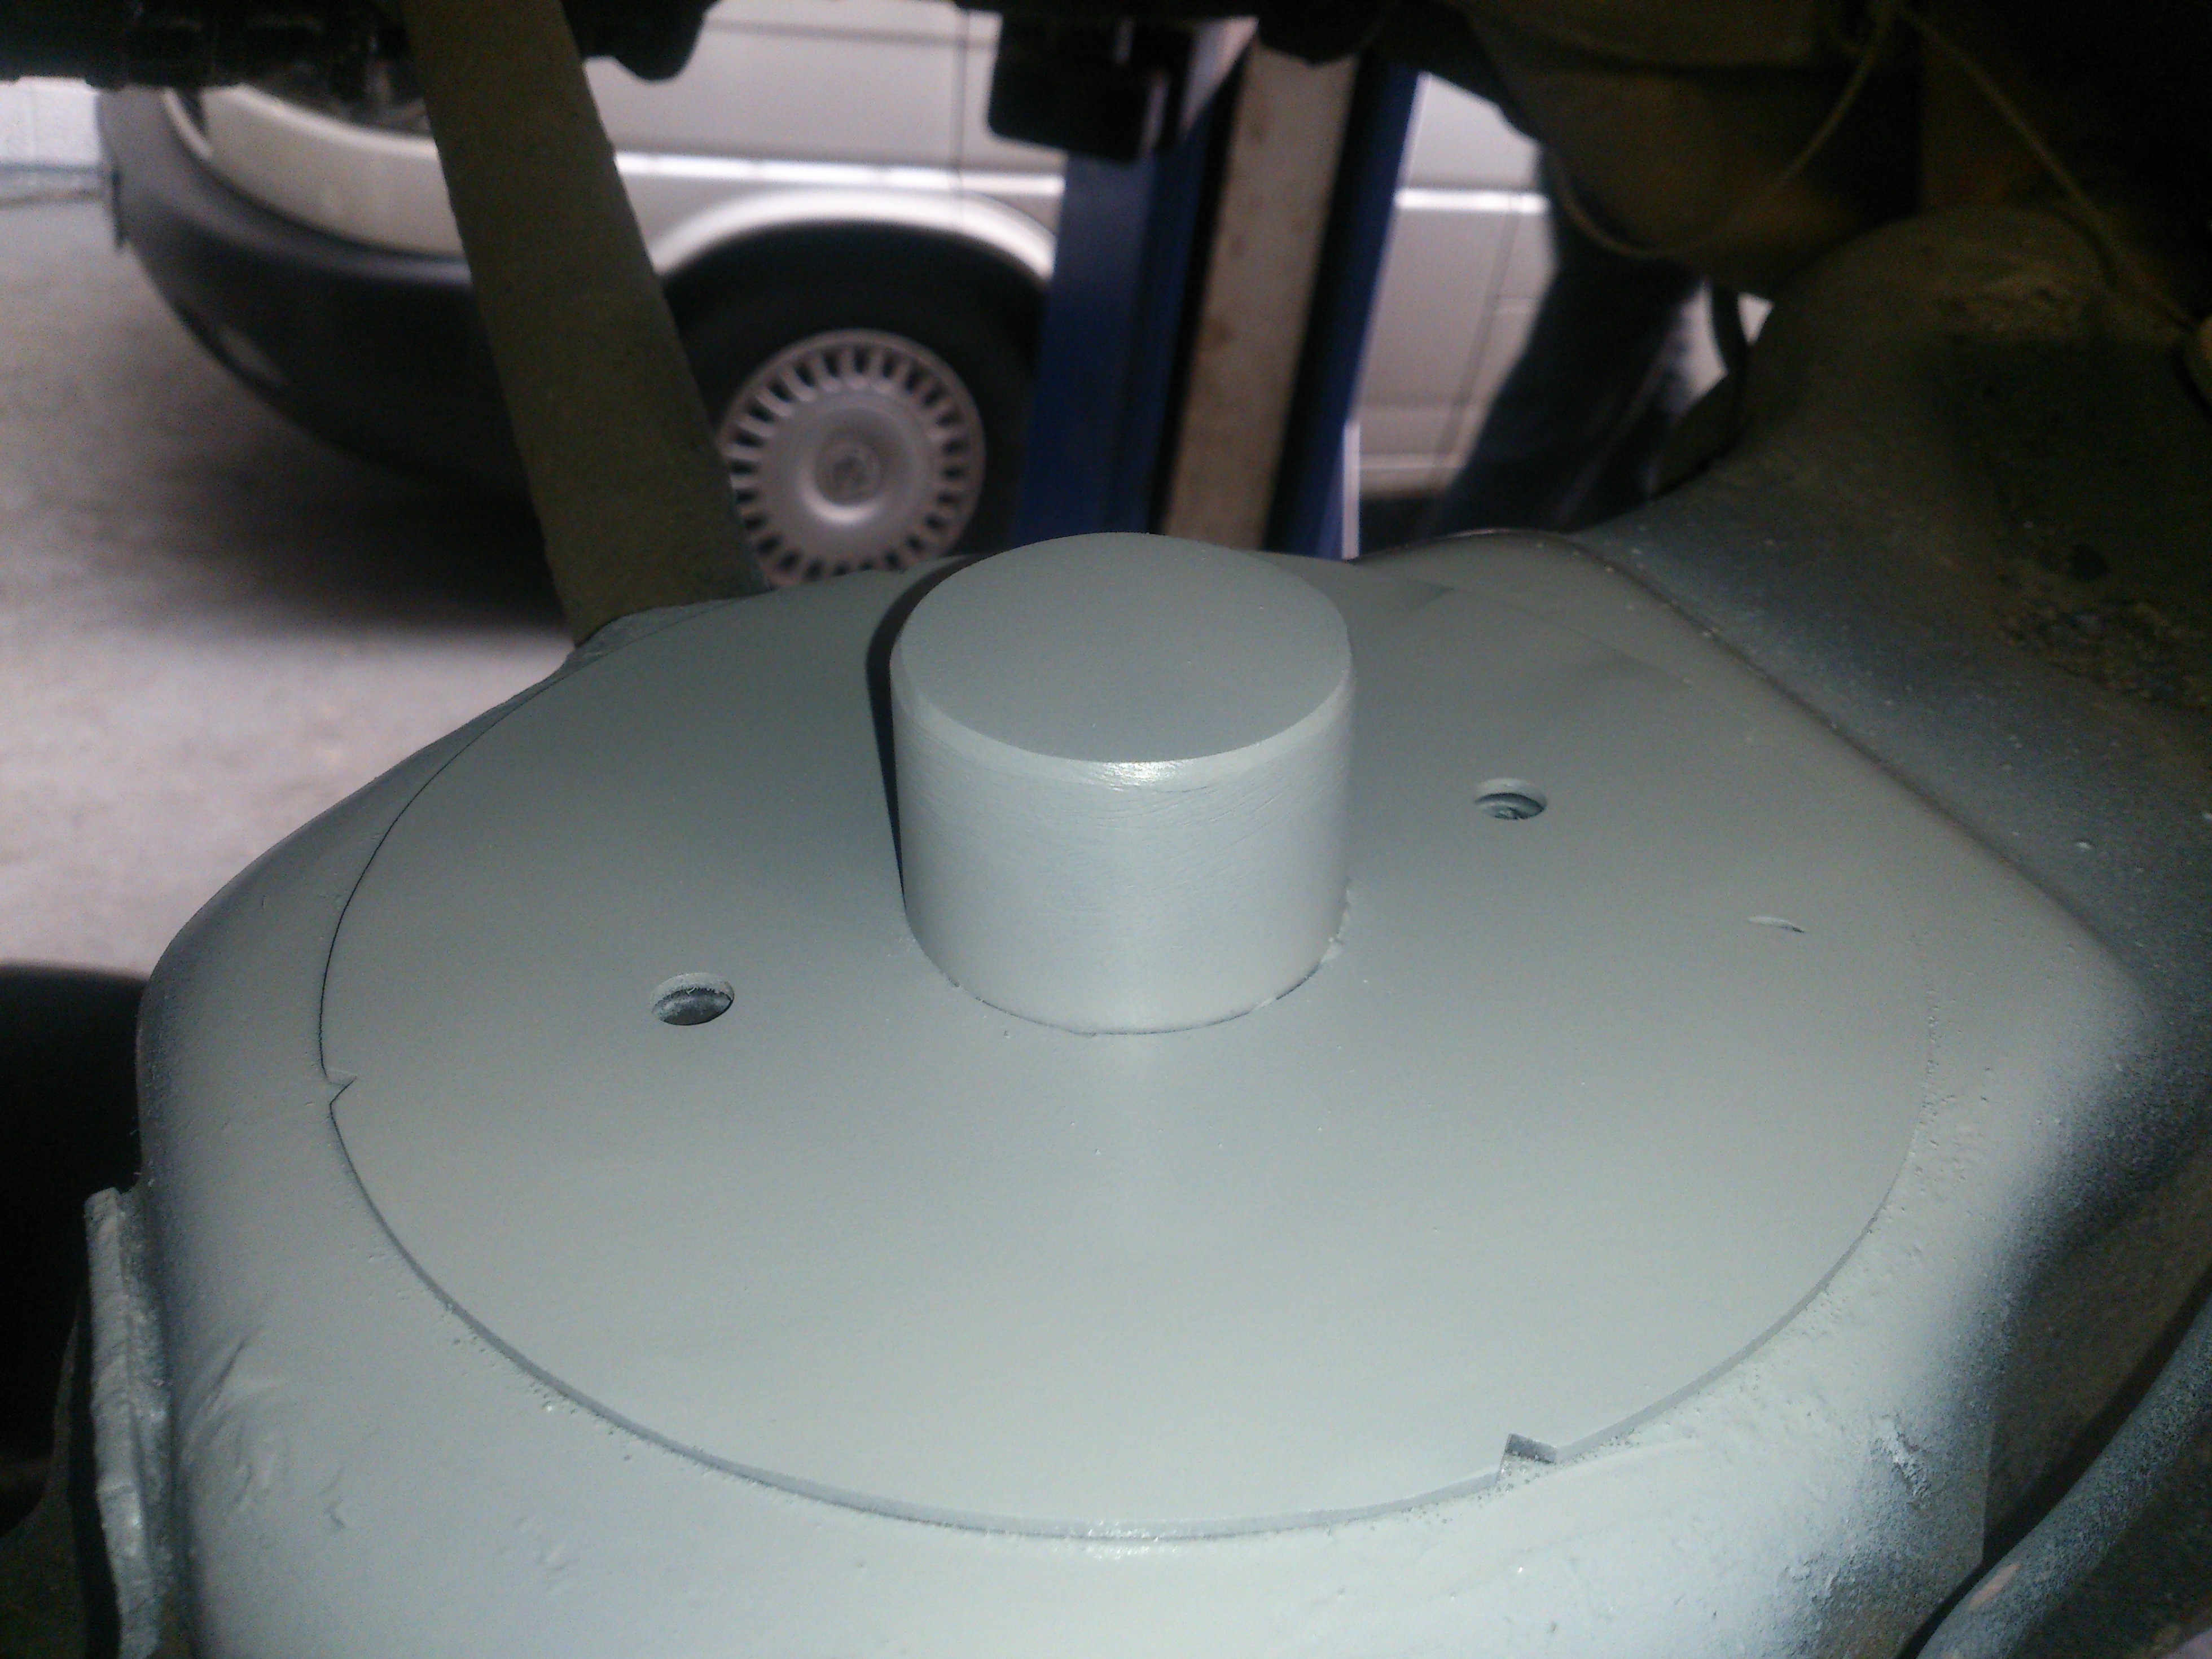
Here you see that the raised section has completely corroded away and was just rattling around inside the spring.Plucked out for you to see!Here you can see the other side is not much better, hanging on like a 6 year old child’s front tooth!The spring perch is only held on with a few spot welds, we just usually chisel them off, it doesn’t take much. As you can see in the middle there was a small corroded hole in the centre. Hole obviously welded up and ground flat.Then, we treated the area with a rust killing solution, etch primed, primed and then painted black.We also painted the underside of the trailing arm repair section, let it dry and then offered the repair up to the arm using some M6 set screws through the holes in the plate to get it in the correct position. After this we use a wire brush in the drill to remove the paint through the hole ready for welding.After welding the welds are again ground flat and the panel etch primed, primed and painted. Once dry we then underseal on top and then refit.
Irritating cookie pop up.
Yeah, cookies, we have to have this stupid, annoying message here, we know you don't care and frankly neither do we.
If you continue to use this site we will assume that you are happy with them.Yeah, whatever..