Still Think tyre load ratings don’t matter?

We see it all the time on online discussions… “I dont need to worry about load ratings, as I never fully load my Camper”.

DSC_0134

These are car rated tyres. Rated “88” which is a MAX of 580kg per tyre – 1060kg for the axle.
Fitted to a relatively lightweight T3 Multivan… not a full camper.

The plated maximum axle weights are 1200kg and 1300kg for the front and rear respectively… so a rating of 98 on the rear and 90 on the front as a minimum.

DSC_0133


T3 Track control arm bush replacement [with Powerflex]

DSC_0124 DSC_0125 DSC_0126 DSC_0128 DSC_0129 DSC_0130 DSC_0131 DSC_0132 DSC_0133 DSC_0135


We did this job yesterday and thought, yeah, this would make a good post for the blog, we’ll take some pictures to show people how easy it is to fit Powerflex replacement track control arm bushes to a T3. Due to their design you can do this job “in Situ” without having to take the arm off and press the new bush in.

Now, here’s a thing… I set off with good intentions but…. As usual the phone rang for me so I got broken off half way through!
When taking pictures of a sequence of work I like to try and snap pictures of the job being done on one side of the vehicle, on this job, sorry, Angus just worked too fast so I missed the bush being extracted on both sides (damn phone…) so this is now a half tale, this is a few pictures of us doing a job with a gap in the middle and taken of different sides of the vehicle! oops.

Sequence of work.

  • Jack vehicle up, axle stands and all that stuff.
  • Undo the track control arm bolt and remove it.
  • Get a block of wood ready.
  • Pry down the track control arm and wedge the block in to give enough clearance to get the bush out.
  • Using a saw we cut the mushroom off the end of the bush, just to make life easier for the next step..
  • This is the missing bit! We use an old 46mm socket and a bit of M12 threaded bar and a couple of nuts to make a little tool to withdraw the knackered bush.
  • Once the old bush is out, clean the bore with a bit of emery tape or some such.
  • Then, and this is the bonus of Powerflex bushes you can simply slide the 2 top hats into place and then slide the stainless sleeve in, Bingo! done.
  • All that’s left is to remove the block and bolt it back up.
  • Obviously changing a major bush like that, taking one out that has crept forward over time and replacing it with a more resilient item that keeps the arm central in is location will have an effect on wheel alignment so it’s always prudent to get this done by a pro, not just some bloke with a tape measure and some string [it does happen…]

Webshop links.

T3 Powerflex Track control arm bushes PFF85-1001
Track control arm bolts.

CHRISTMAS CLOSING 2014


bauble

Its that time of year again….
Time to Deck the Halls with something and Tra-la-la-la-laaaa-la-la-la-laaaa.

Its also fast approaching the annual Christmas shutdown for Brickwerks.
A time when we take a few days off to reflect on the year past and the new year approaching. A time to eat some pies and drink some ale and eat some more pies.

Maybe Angus will pull a few crackers…

So, we’ll be closed from Christmas Eve (thats the 24th December!), and we wont re-open officially until January the 2nd.
By then we’ll be fully refreshed and raring to go.

As far as the webshop goes, the “landlord” will call “last orders” at around midday on MONDAY 23rd December.
UPS will collect that day and will endeavor to deliver on Christmas Eve.

All orders placed after then will be picked, packed and shipped on the 2nd of January.

We’d all like to take this opportunity to wish our customers the very merriest of Christmases and a fantastic New Year, and thank you all for your support previously and in the future.

Next year we will continue to supply only the best quality parts for your VW, and continue to provide our workshop customers with that unique “Brickwerks Experience” 🙂

The Brickwerks Team

T3 Transporter bump stop modification.

Lowering a T3 is a pretty common operation, the benefits are well documented and we won’t go into that here.

The one thing we do see a lot of is when someone books their van into the workshop complaining of the poor ride in their lowered van [ 95% of the time the van is sporting red springs!] and most of the time we can fix this problem fairly quickly, easily and more importantly cheaply!

What a lot of people don’t realise is that from the factory there were 2 lengths of bump stop, a 5 rib version [longer] and a 3 rib version [shorter].

From the factory the commercial models had the longer bump stops, so that’s most models with a Transporter badge on the back so all pick up models, Single cab and double cab pick ups were designed for commercial use and have the longer 5 rib bump stop and the yellow coded rear springs. Panel vans again were designed to carry a load and they too have the longer 5 rib bump stop.
What makes a mess of this little rule of thumb is that some Kombi models [empty vans with windows] were badges as transporters however they usually have the shorter 3 rib bump stop.

Passenger carrying T3s, That’s your Kombi, Caravelle and Westfalia campers [and Dehler probably too] came with the blue coded rear springs and the shorter bumpstops.

In the UK it was the norm for camper van converters to buy the cheapest van they could, usually a white panel van and then cut windows into it, so if you have a UK converted camper then the chances are you have a Transporter and it will have the longer 5 rib bump stop.

As you know we sell a lot of suspension products and one question we get asked is how to modify the bump stops for use on lowered vans.
We’ve been through our Facebook page and found the images when we did it before and we’ve written this here so it’s a little easier to find.

As the old saying goes, a picture speaks a thousand words…..


BumpStopChop01 Starting point, usual 5 rib commercial bump stop.


BumpStopChop02 Break the bump stop into 2 parts, attach rubbery end in the vice and pull and bend at the same time.


BumpStopChop03 Once you have it split, cut 2 ribs off, the narrow one, and one fat one.


BumpStopChop04 Whittle the last rib down in the bench grinder to a diameter similar to that of the one you chopped off.


BumpStopChop05 Cut a nick in the sleeve.


BumpStopChop06 Cut another nick in the bump stop rib.


BumpStopChop07 With a bit of light oil, engage the rubber in the sleeve and twist, the screw action will pull the smaller rib into the sleeve.


BumpStopChop08 Ta Da! 5 rib to 3 rib bump stop in minutes.


There you go, when lowering more than 30mm we would always do this

Rotten radius rod.

image

This is what lurks beneath your radius rod bushes. All too familiar tale here, changing these things is becoming a weekly occurrence. Trouble is that this rot has already nibbled the front Cross member resulting in a nice little welding job before we can rebuild it.
image

The hole in the Cross member should be round! Eek!

VW T3 Oil Pressure Switches


One of the most frequent cries for help we receive at Brickwerks are to do with oil pressure and oil pressure switches.

We’ve written this page to try and assist customers to select the correct oil pressure switch for their vehicle.

First off we must say if at Brickwerks we have a customer come in to the workshop with a oil buzzer or oil light flashing then the first thing we do is check the oil pressure, without fail. It is simply not worth taking the risk, there may actually be a genuine fault with the engine and the light or buzzer might actually be telling the truth!

The oil pressure is reasonably simple to check with a pressure gauge.

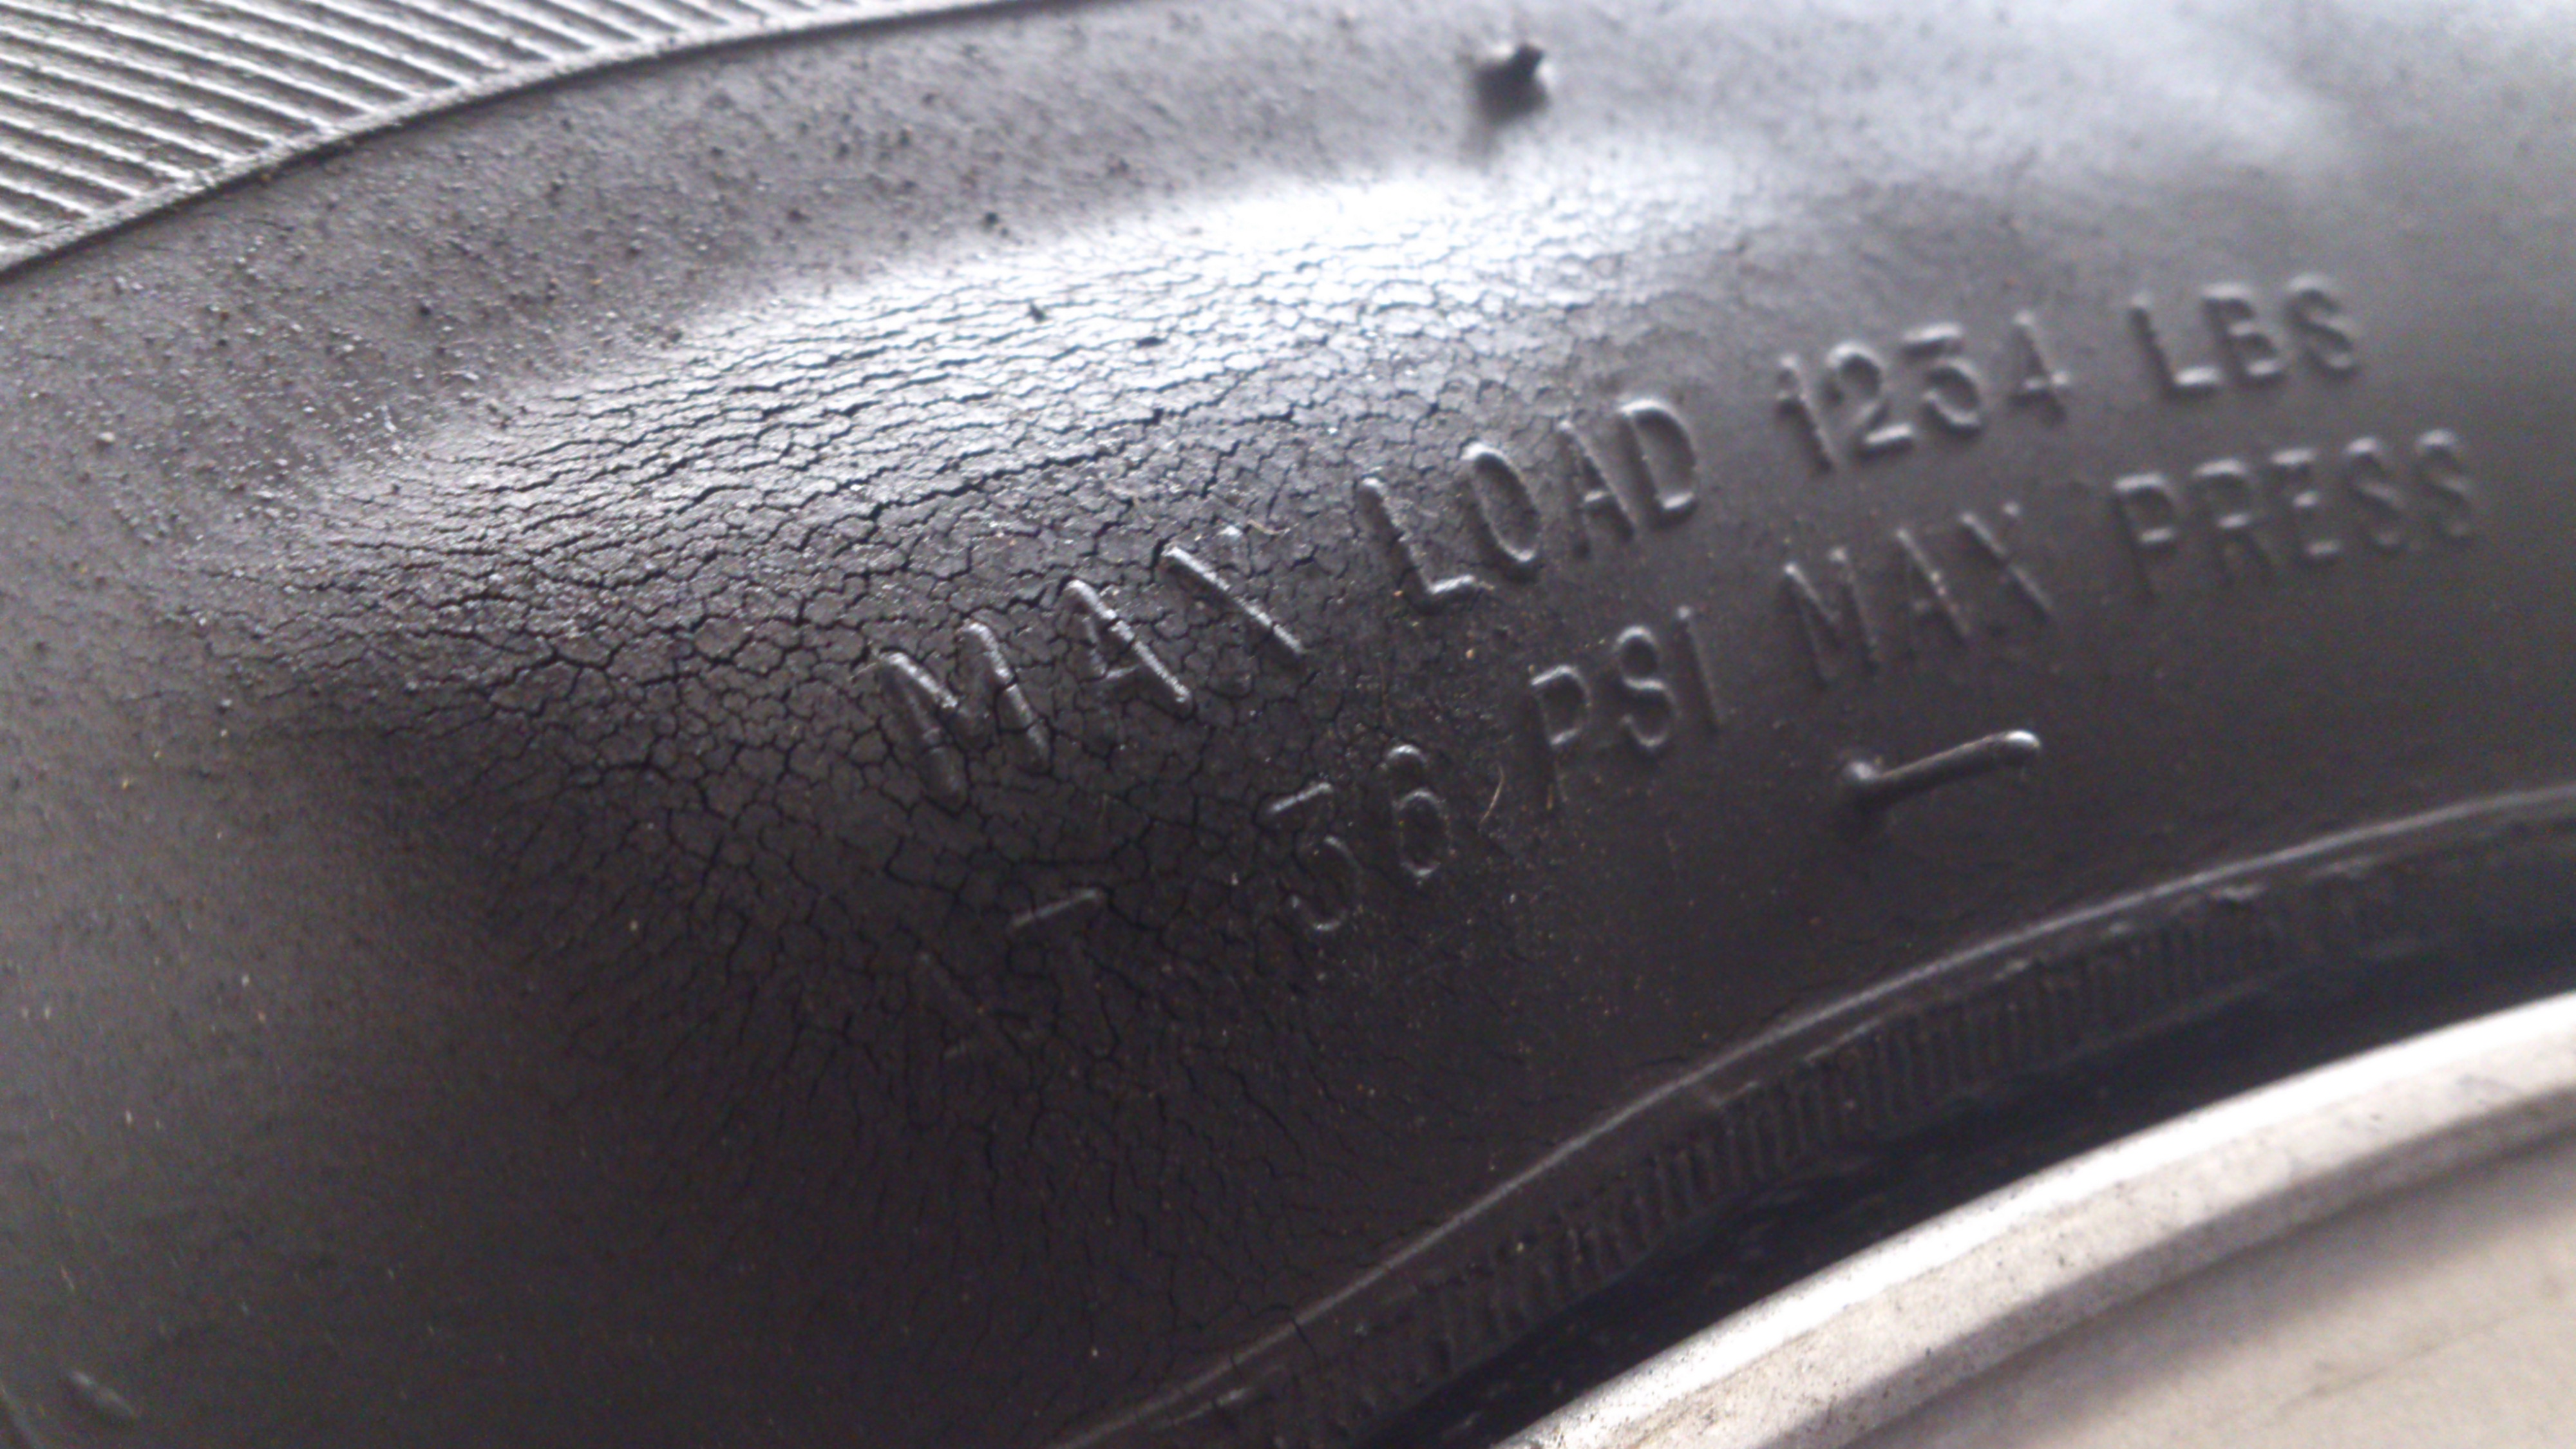
With the engine oil at 80°c and the engine speed at 2000rpm then the oil pressure for all engines [except the 1.6TD “JX” engine] should be at least 2bar or 30psi if you are old!

For the JX engine, that’s the 1.6l turbo Diesel engine then the pressure must be at least 1 bar at 80° @ 2000rpm.

If the oil pressure is correct then let us proceed..

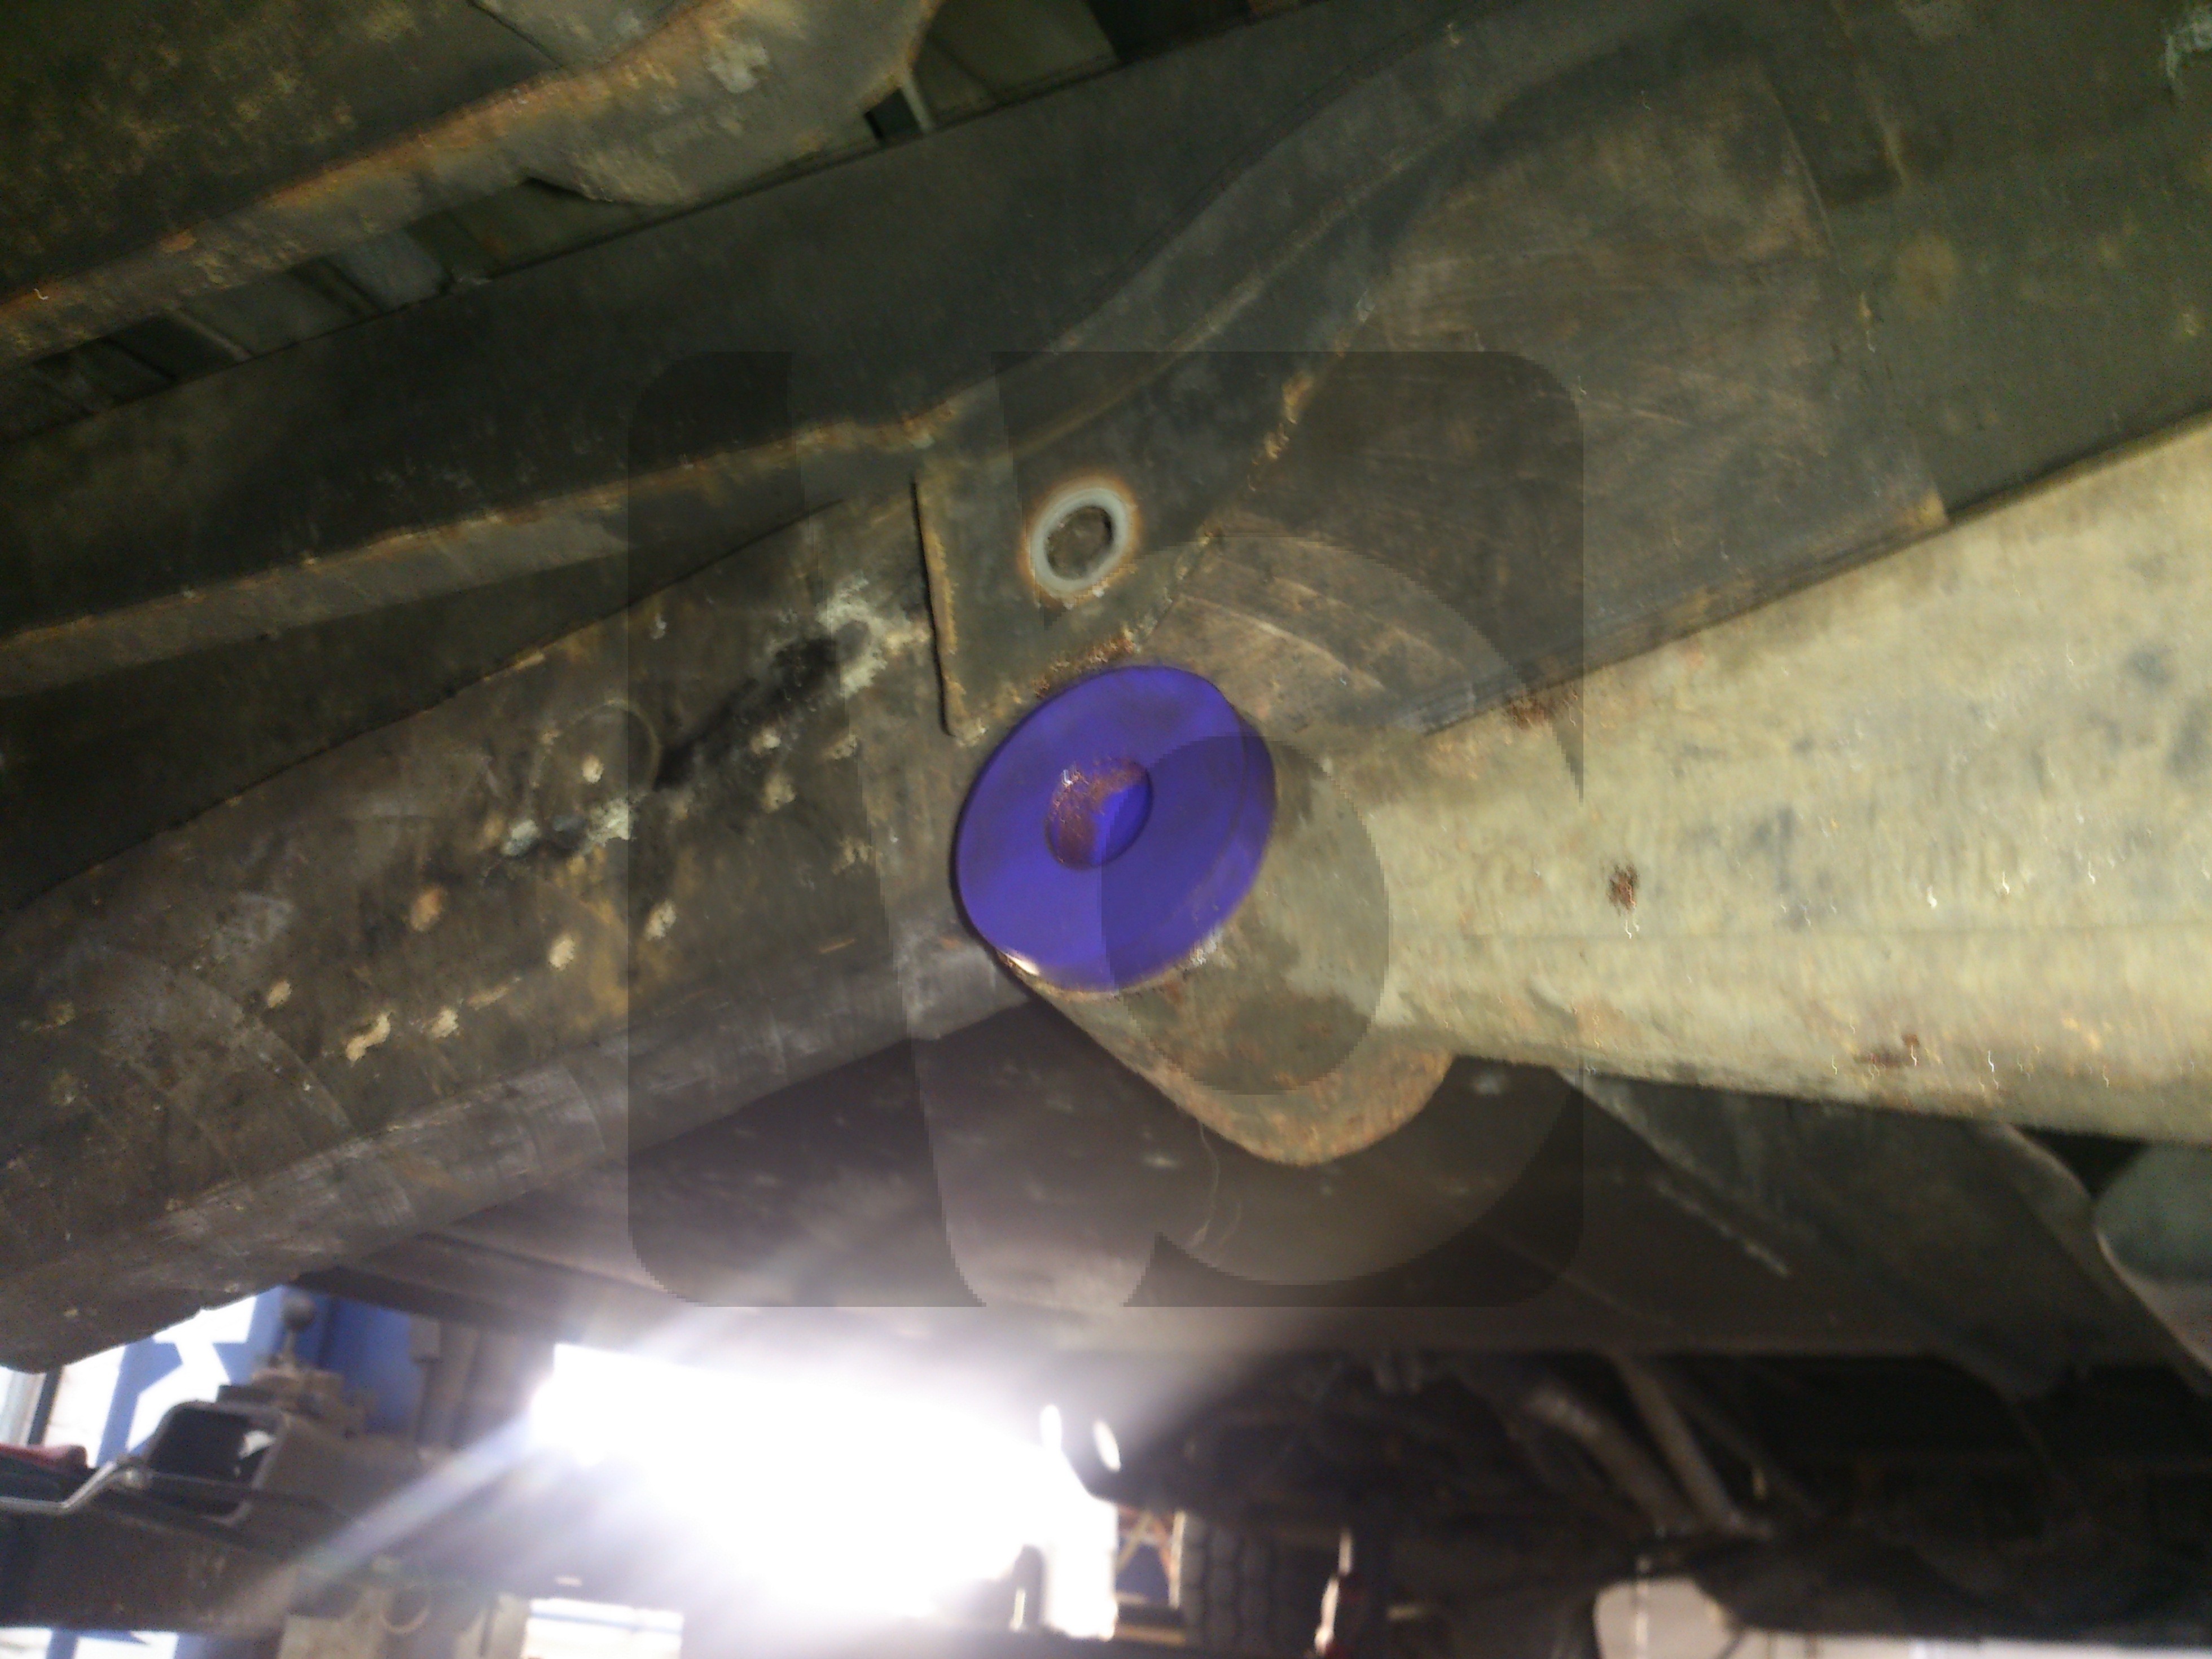
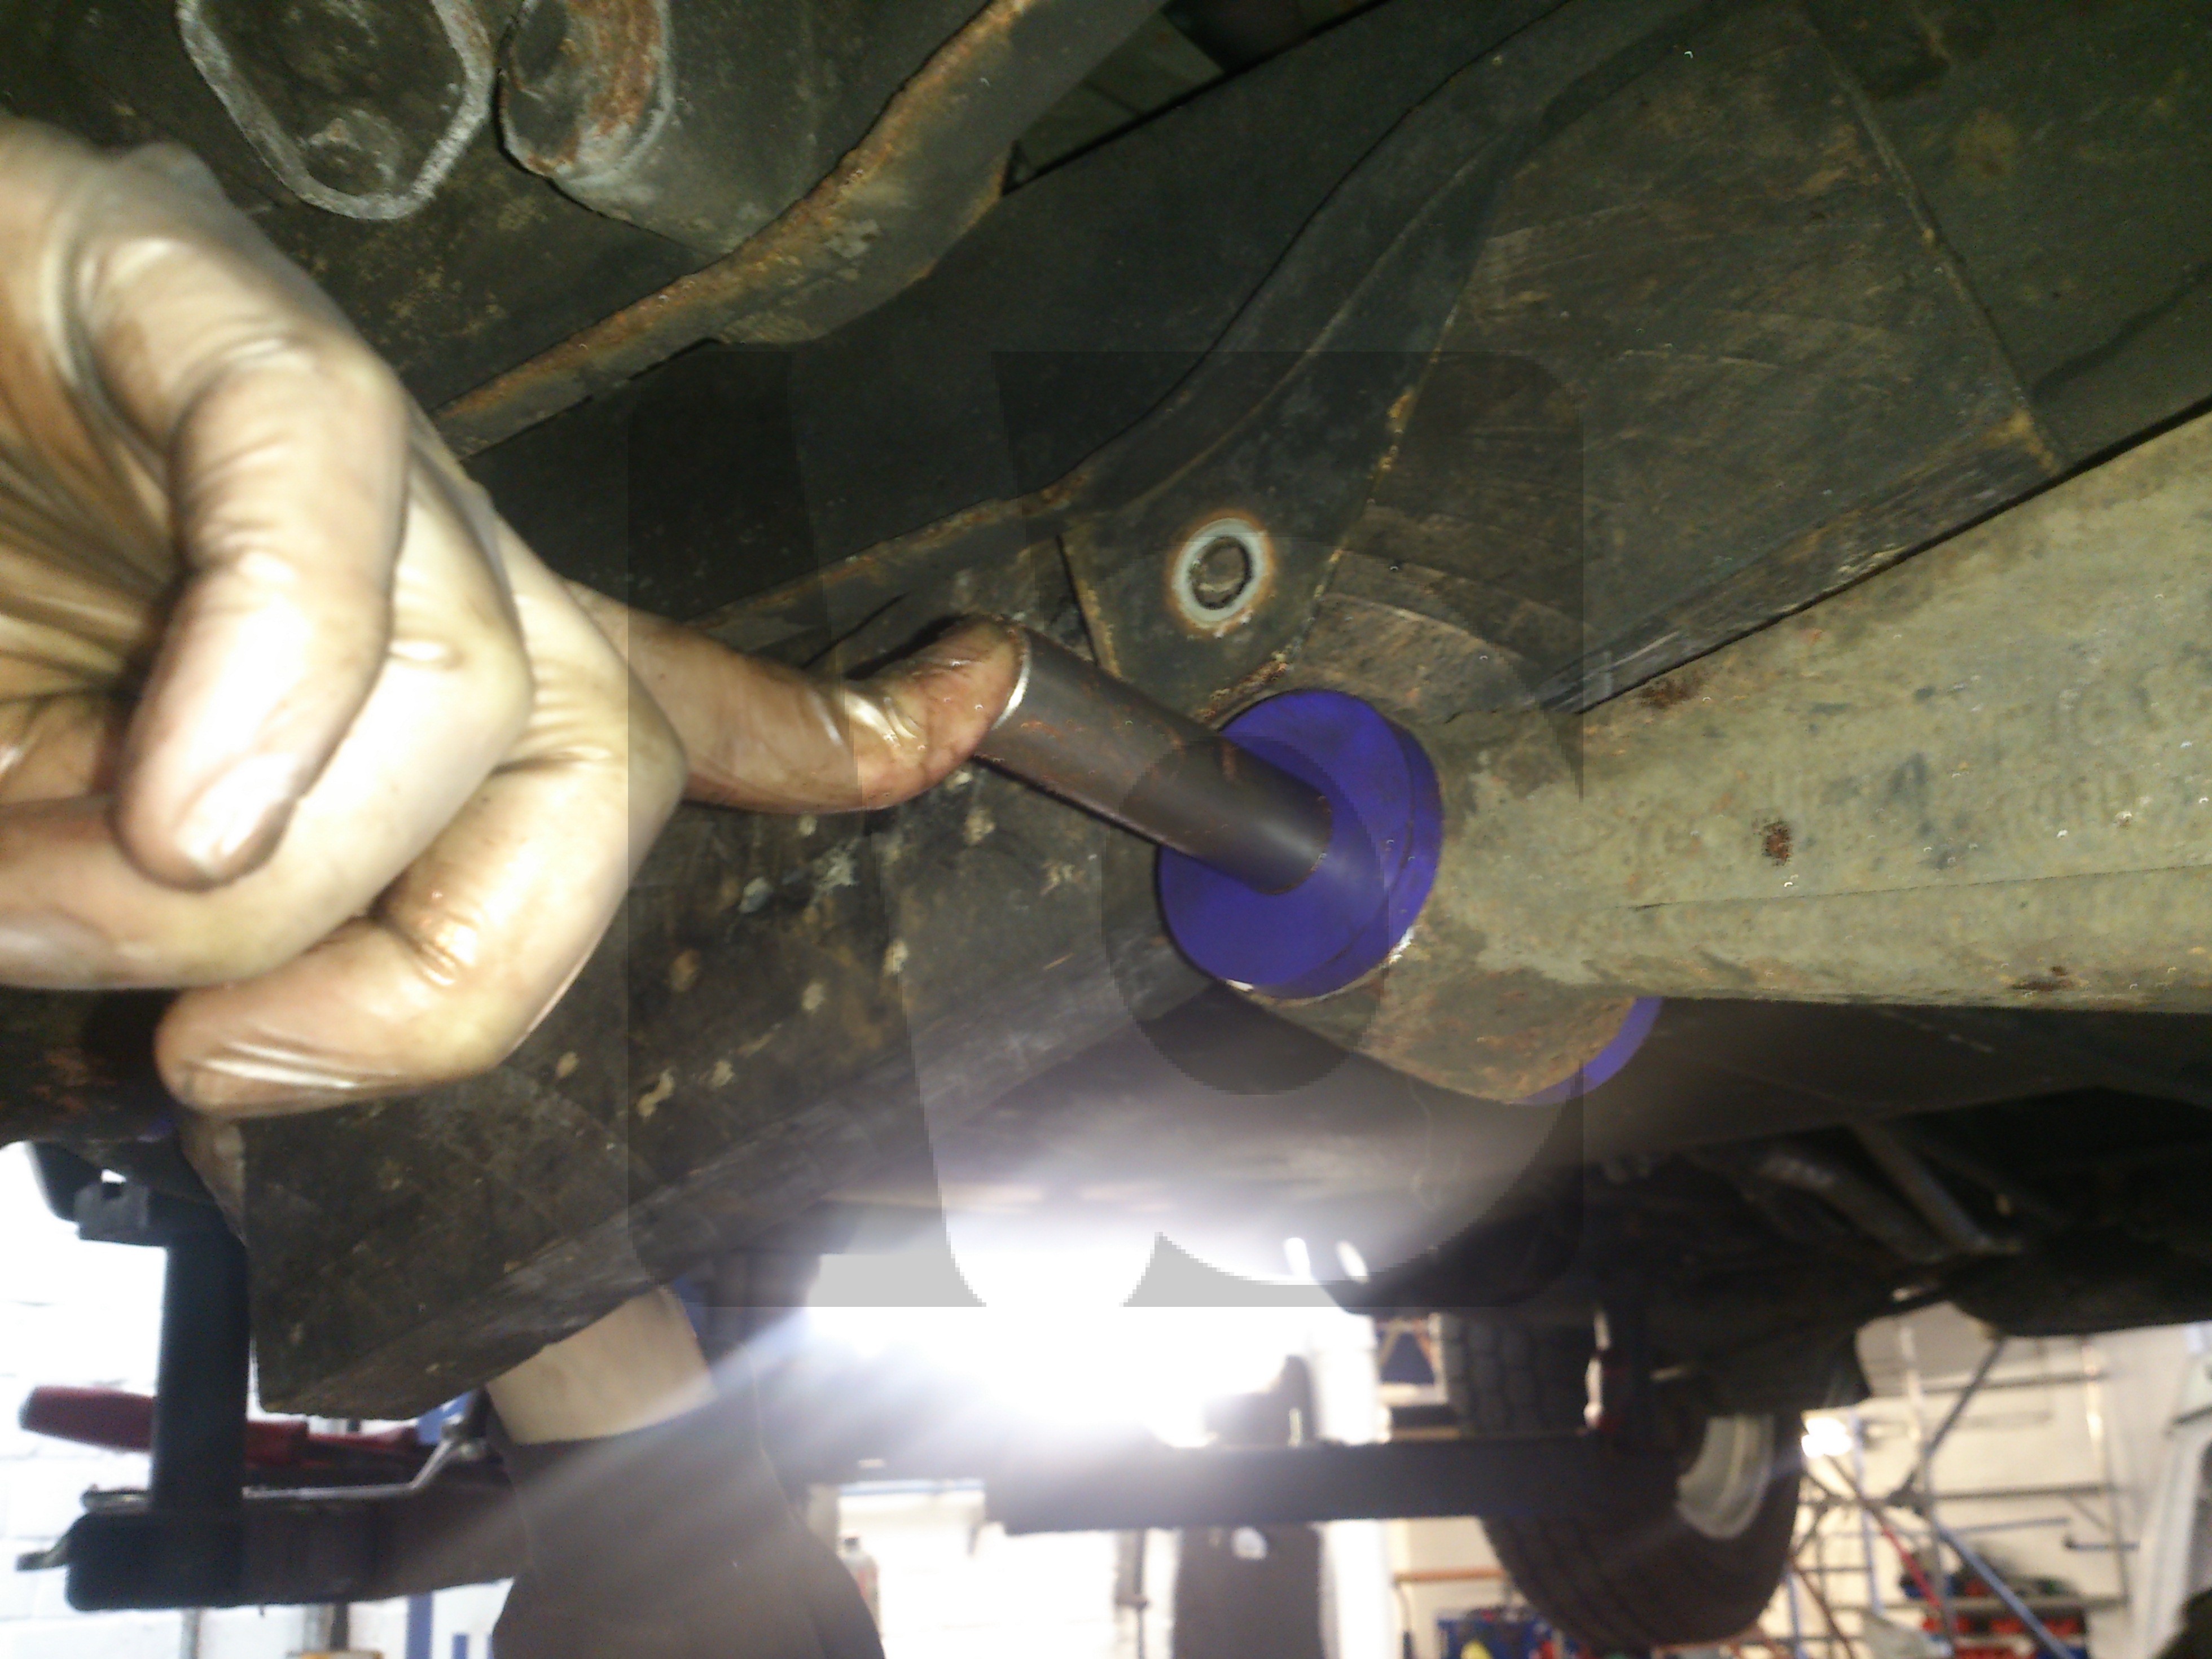
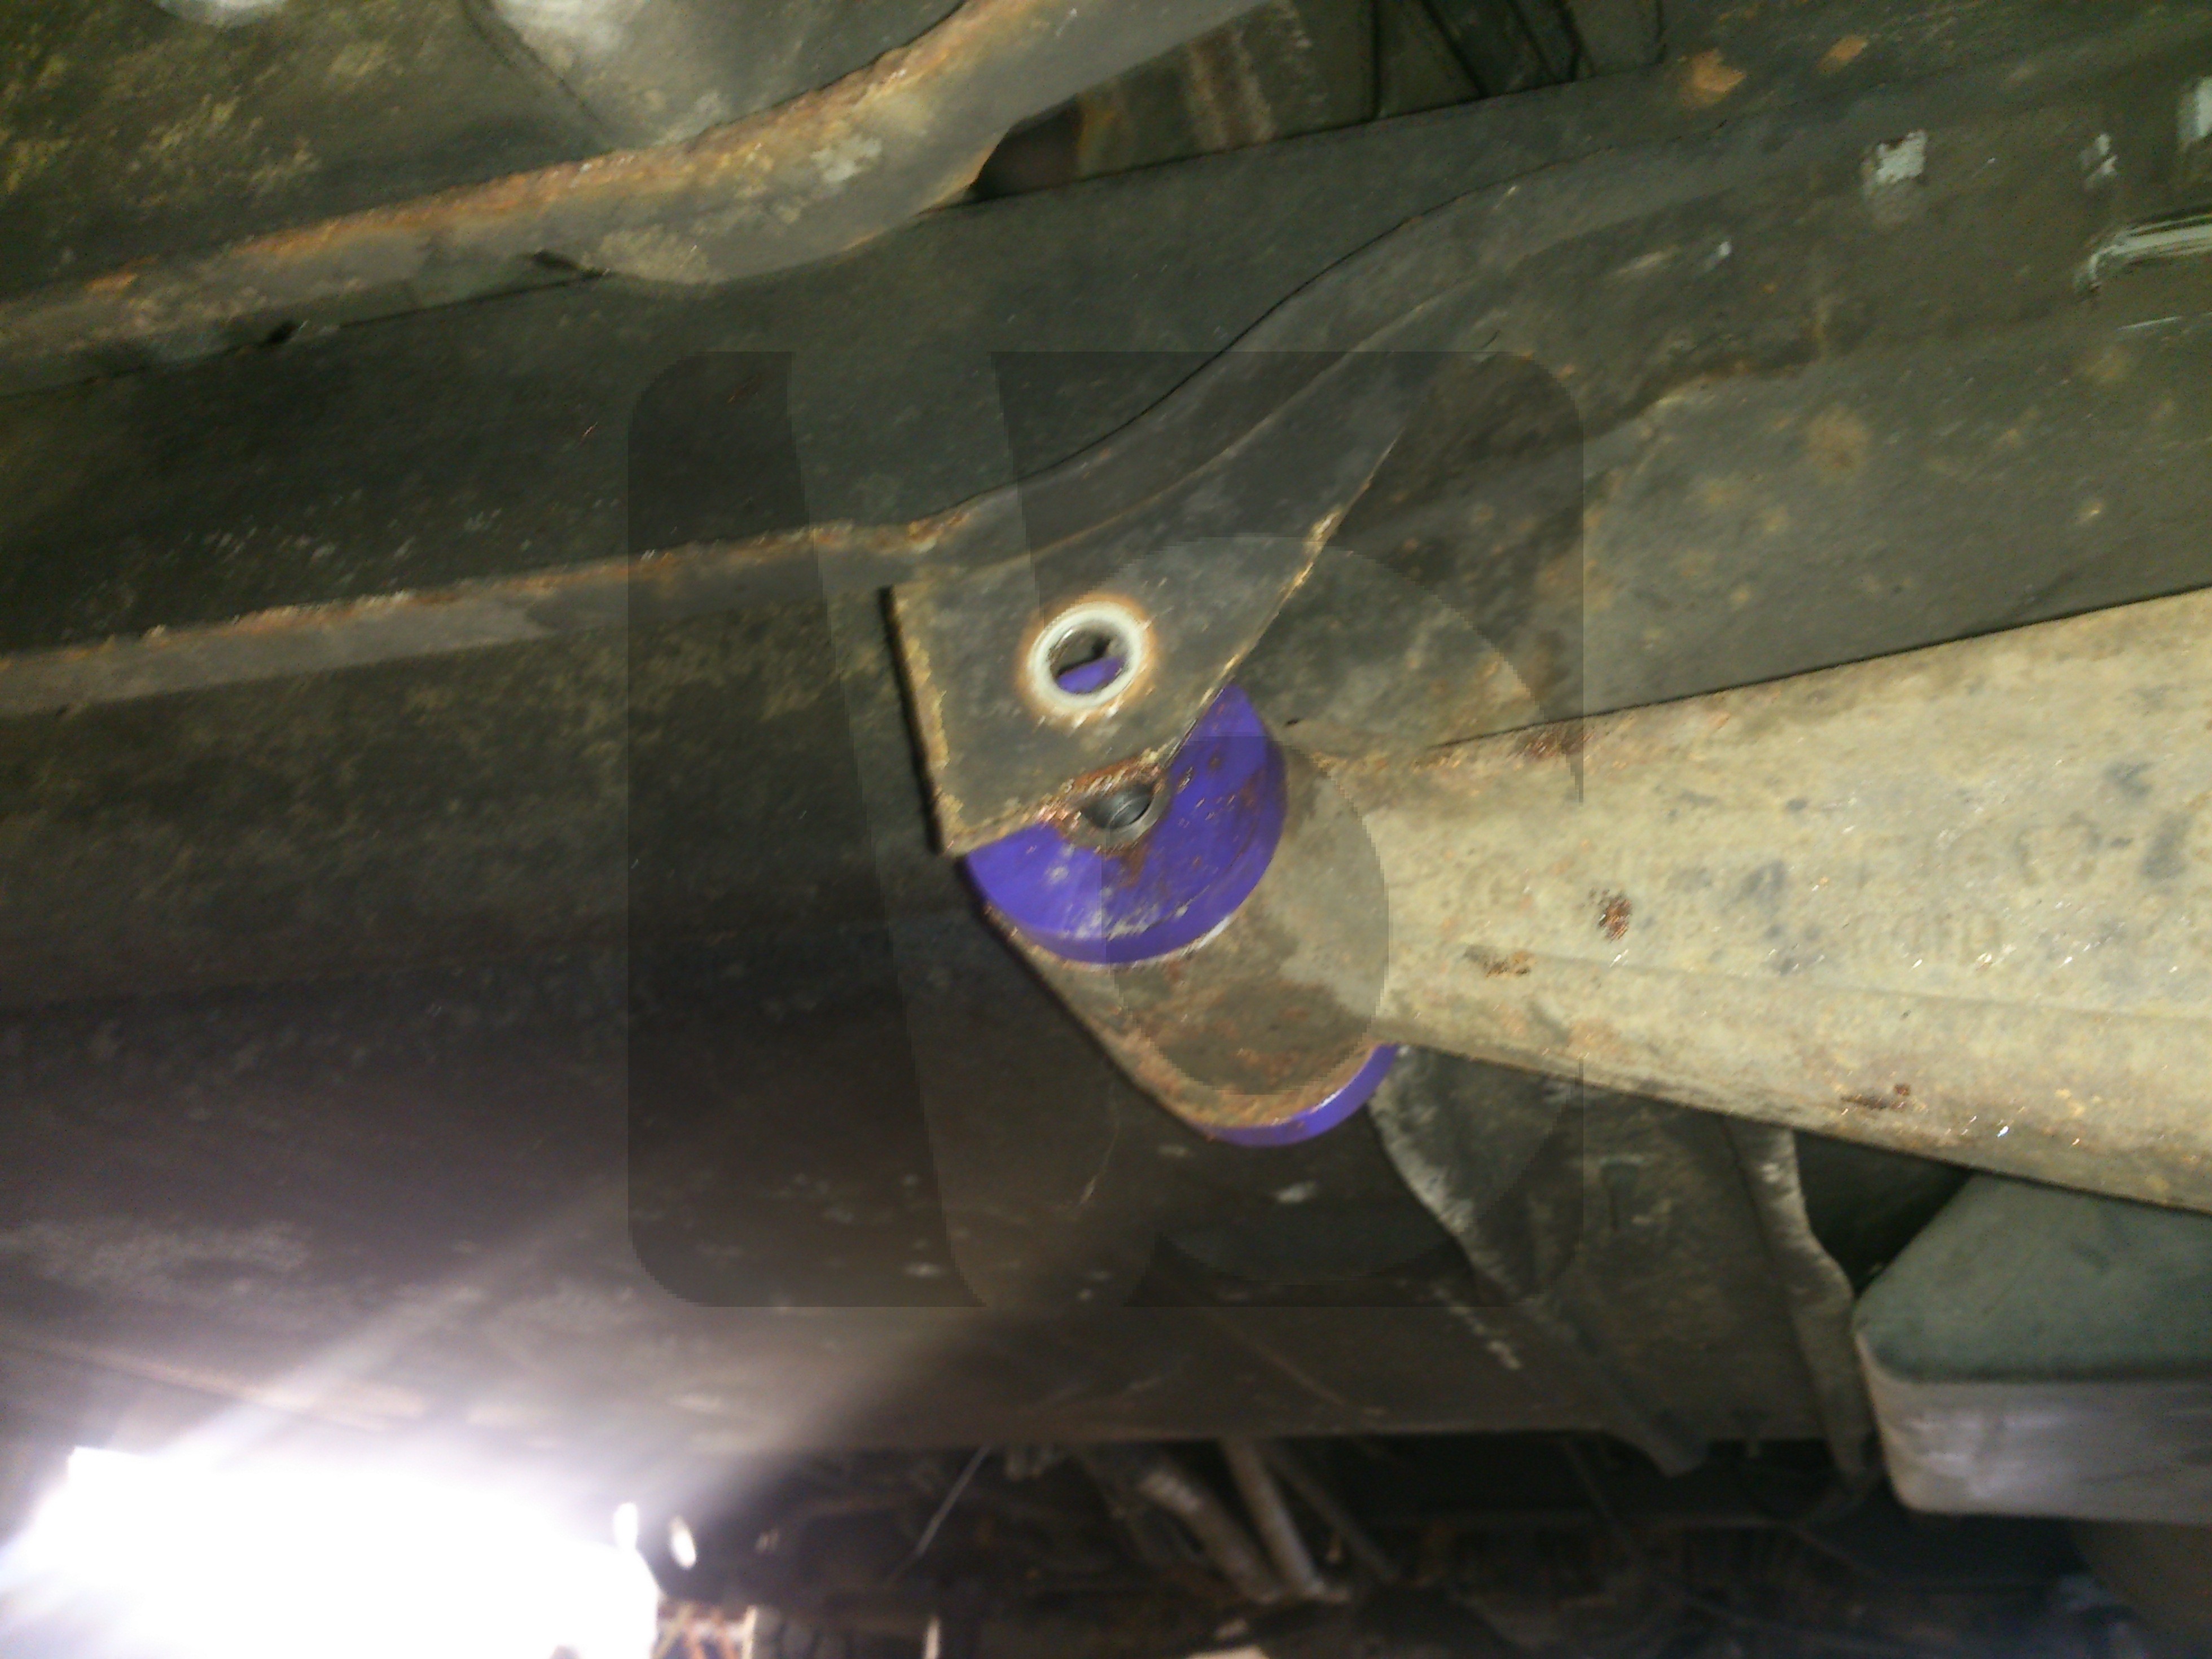
Up to the end of the 1984 model year it’s fairly simple, there is one switch and it is colour coded blue. That’s it, blue.

The oil pressure switch is connected to a blue wire with a black trace, or black stripe if you prefer.

This switch is what is called “normally closed”, meaning at rest with the engine stopped the terminal will be connected to earth through the body of the switch. Once pressure is applied to the switch and it reaches a predetermined pressure [.25 bar in this case / 3.68 psi] then the pressure will overcome an internal spring and break the circuit between the terminal and earth.

Remember when you were at school and you did some simple electrical circuits? The oil pressure light is a simple circuit like from your school days, it is a bulb, a battery and a switch only the switch is operated by engine oil pressure.

With no oil pressure the switch is at rest, the terminal is connected to the body of the switch and this will illuminate the light, once the engine starts and oil pressure reaches .25 bar [3.68psi for the giffers] the pressure opens the switch and the light goes out.

Okay, so up to the end of the 1984 model year its simple, one switch and a blue/black wire, if you look at your chassis number [VIN if you prefer] and find the 10th digit, if it is A,B,C,D or E then your sorted, one switch, one wire.

From 1985 model year onwards [10th digit of the VIN is F onwards] it’s gets a little more complex as VW introduced the “DOP” or Dynamic Oil Pressure monitoring system, or “Buzzer of doom” as it has now become known.

This system retains the blue switch on the blue/black wire but it also has a second switch on a yellow wire.

There is a choice of 3 switches for the oil buzzer system, it could be either white, grey or black.

The colour code depends on which engine you have fitted and annoyingly there is a choice for 88 model year onwards so it isn’t cut and dried as to what should be fitted.

“What does this second switch do Brickwerks”? Well, it’s like this… The oil pressure light is all well and good, but if you are tramming down the motorway and the oil light comes on the chances are that it’s too late and the damage is done before you have chance to stop, VW recognsed this problem so they tried to make the system a little better by giving the driver an early warning that all is not well. VW added a second oil pressure switch and an electronic circuitboard behind the speedometer which includes a buzzer to alert you to a low oil pressure condition.

The buzzer circuitry also reads engine speed from a wire from the engine bay [green on a petrol taken from terminal 1 on the ignition coil, red/black on a Diesel and taken from the W terminal on the alternator] and should only work when the engine speed is above 2000rpm.


Colour VW No NO/NC Pressure – Bar Pressure – PSI Wire
Black 068 919 081 Open 1.4 20.58 Yellow
Grey 068 919 081 A Open 0.9 13.23 Yellow
White 056 919 081 E Open 1.8 26.46 Yellow
Blue 028 919 081 D Closed 0.25 3.68 Blue

The table above gives a few more details to the switches and their opening/closing pressures.

NO – Normally open, when at rest the switch contacts are open.

NC – Normally closed, when at rest the switch contacts are closed.

So, which switches are fitted to which engines?

All engines have a blue switch, all of them.

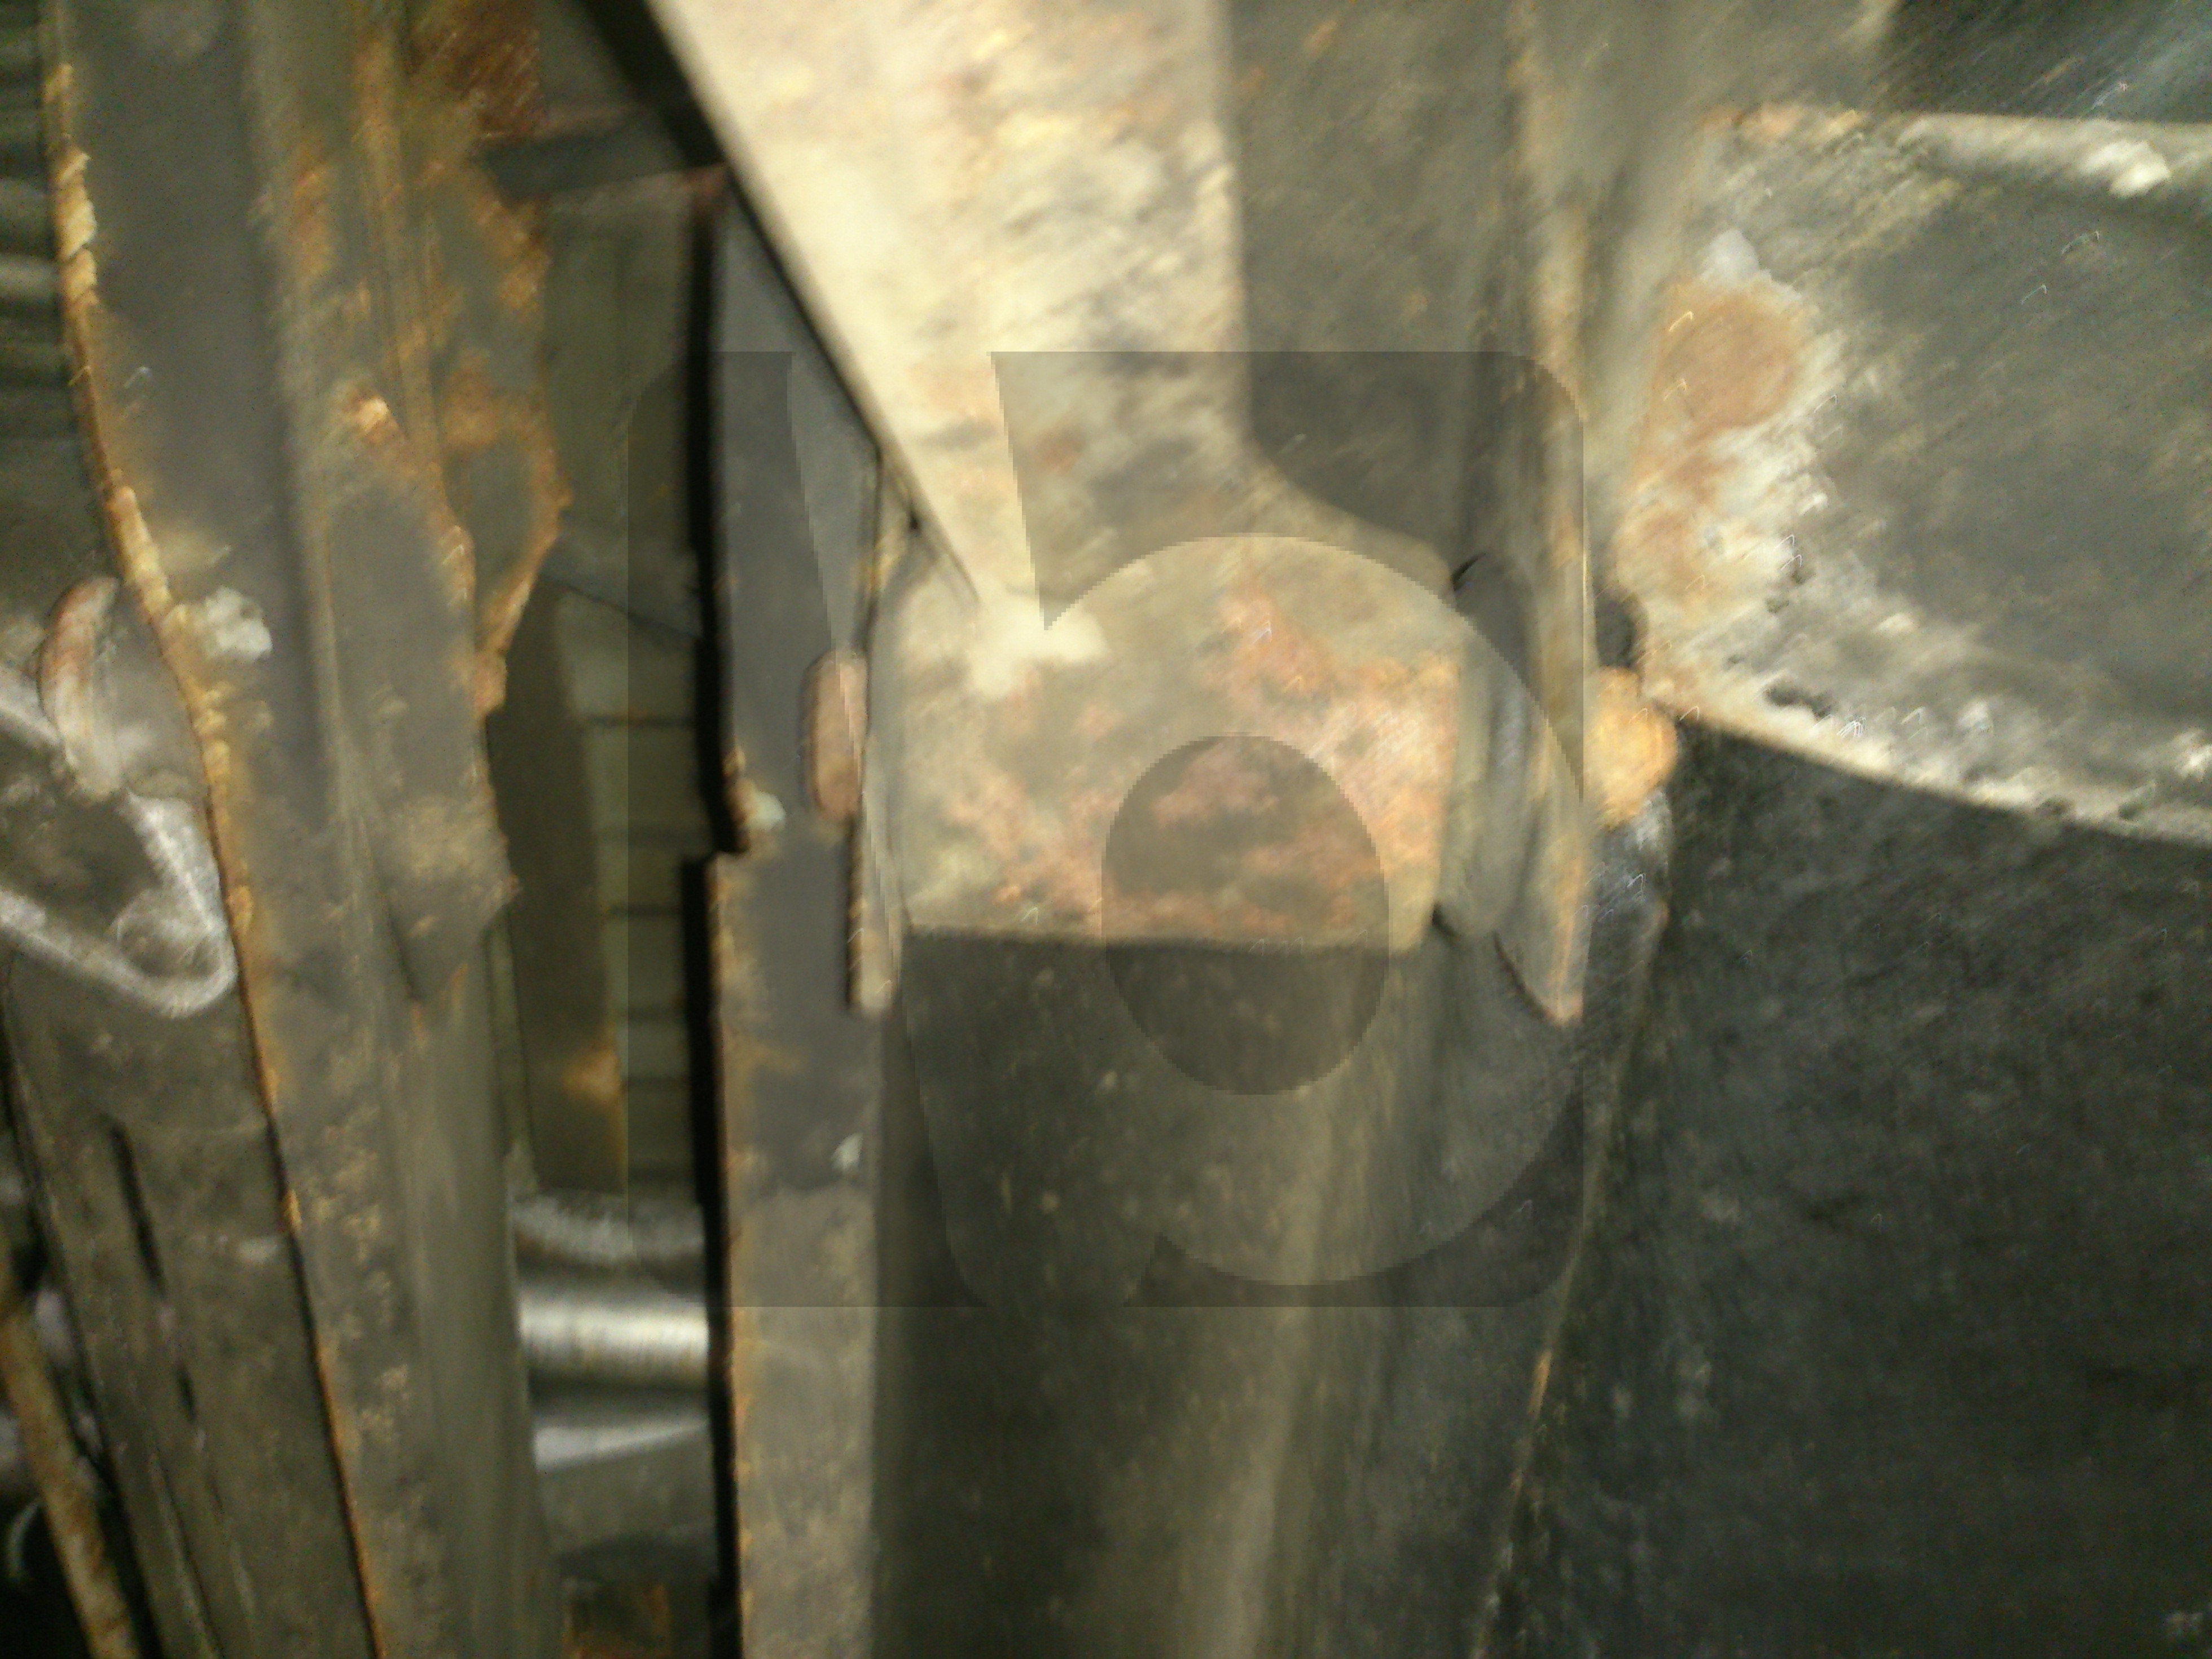
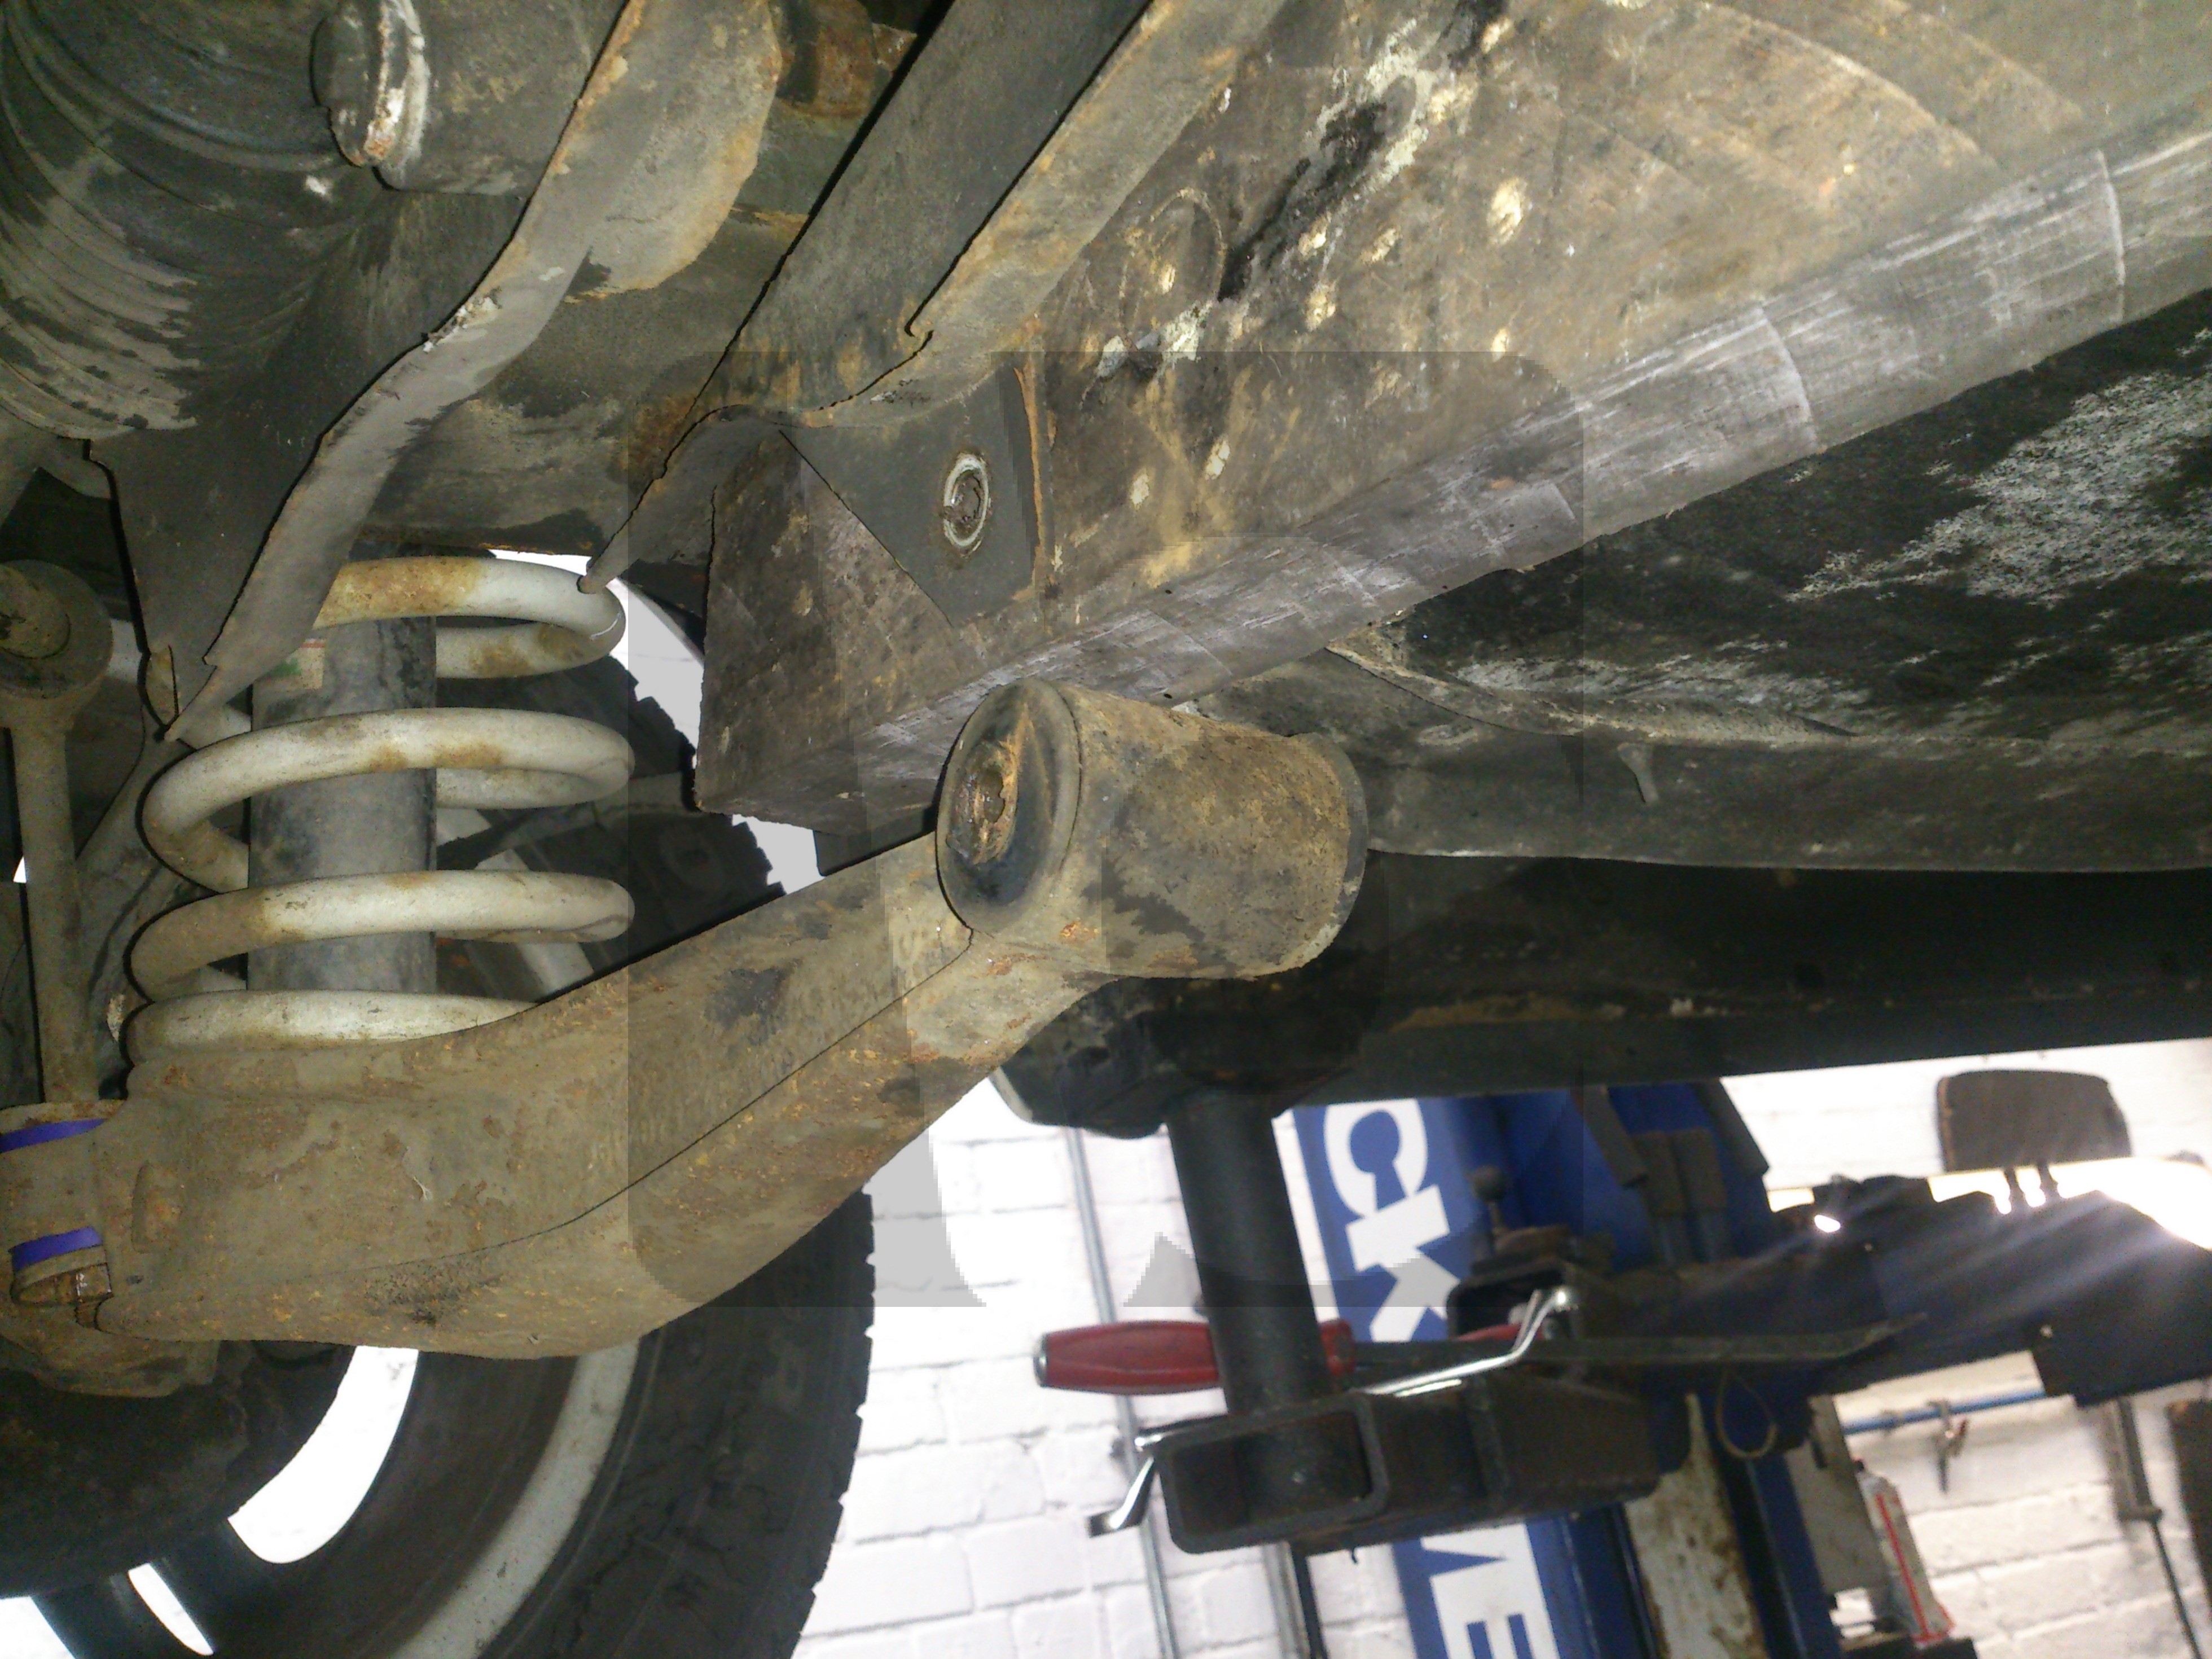
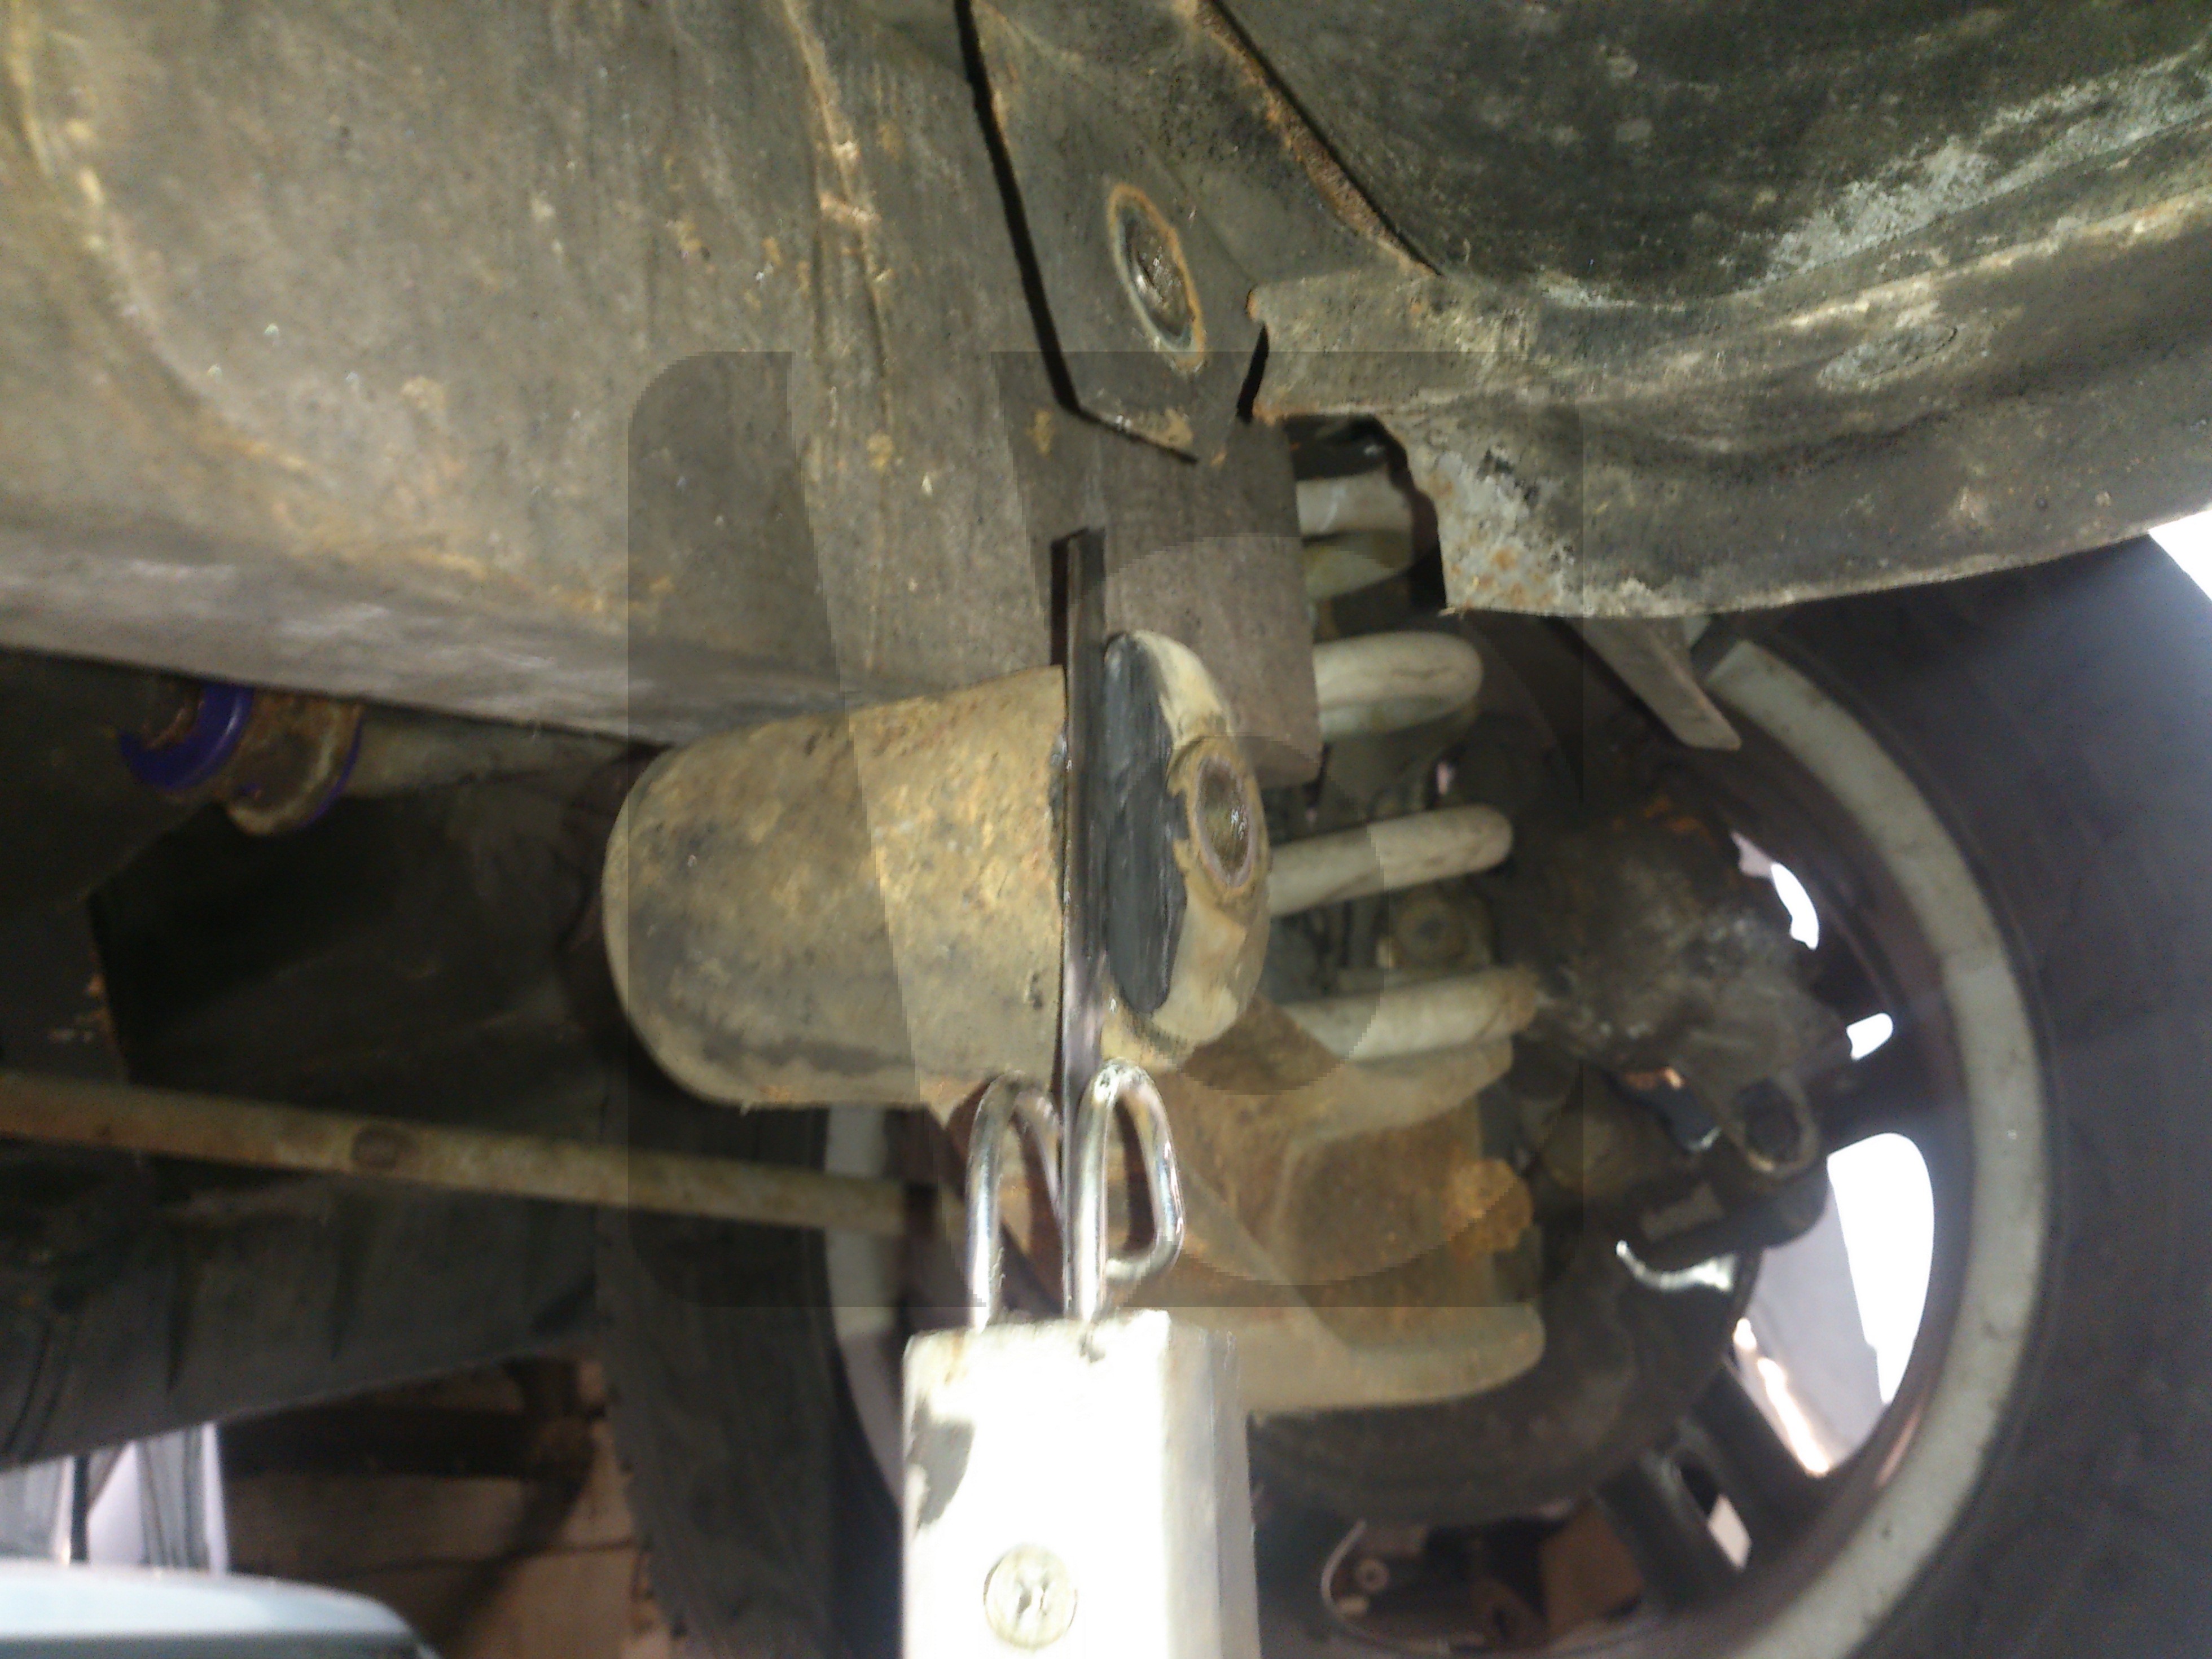
On a WBX [1.9l or 2.1l petrol engine] the blue switch is on the left hand side of the engine , underneath between the push rod tubes, you may have to remove the covers to get them.

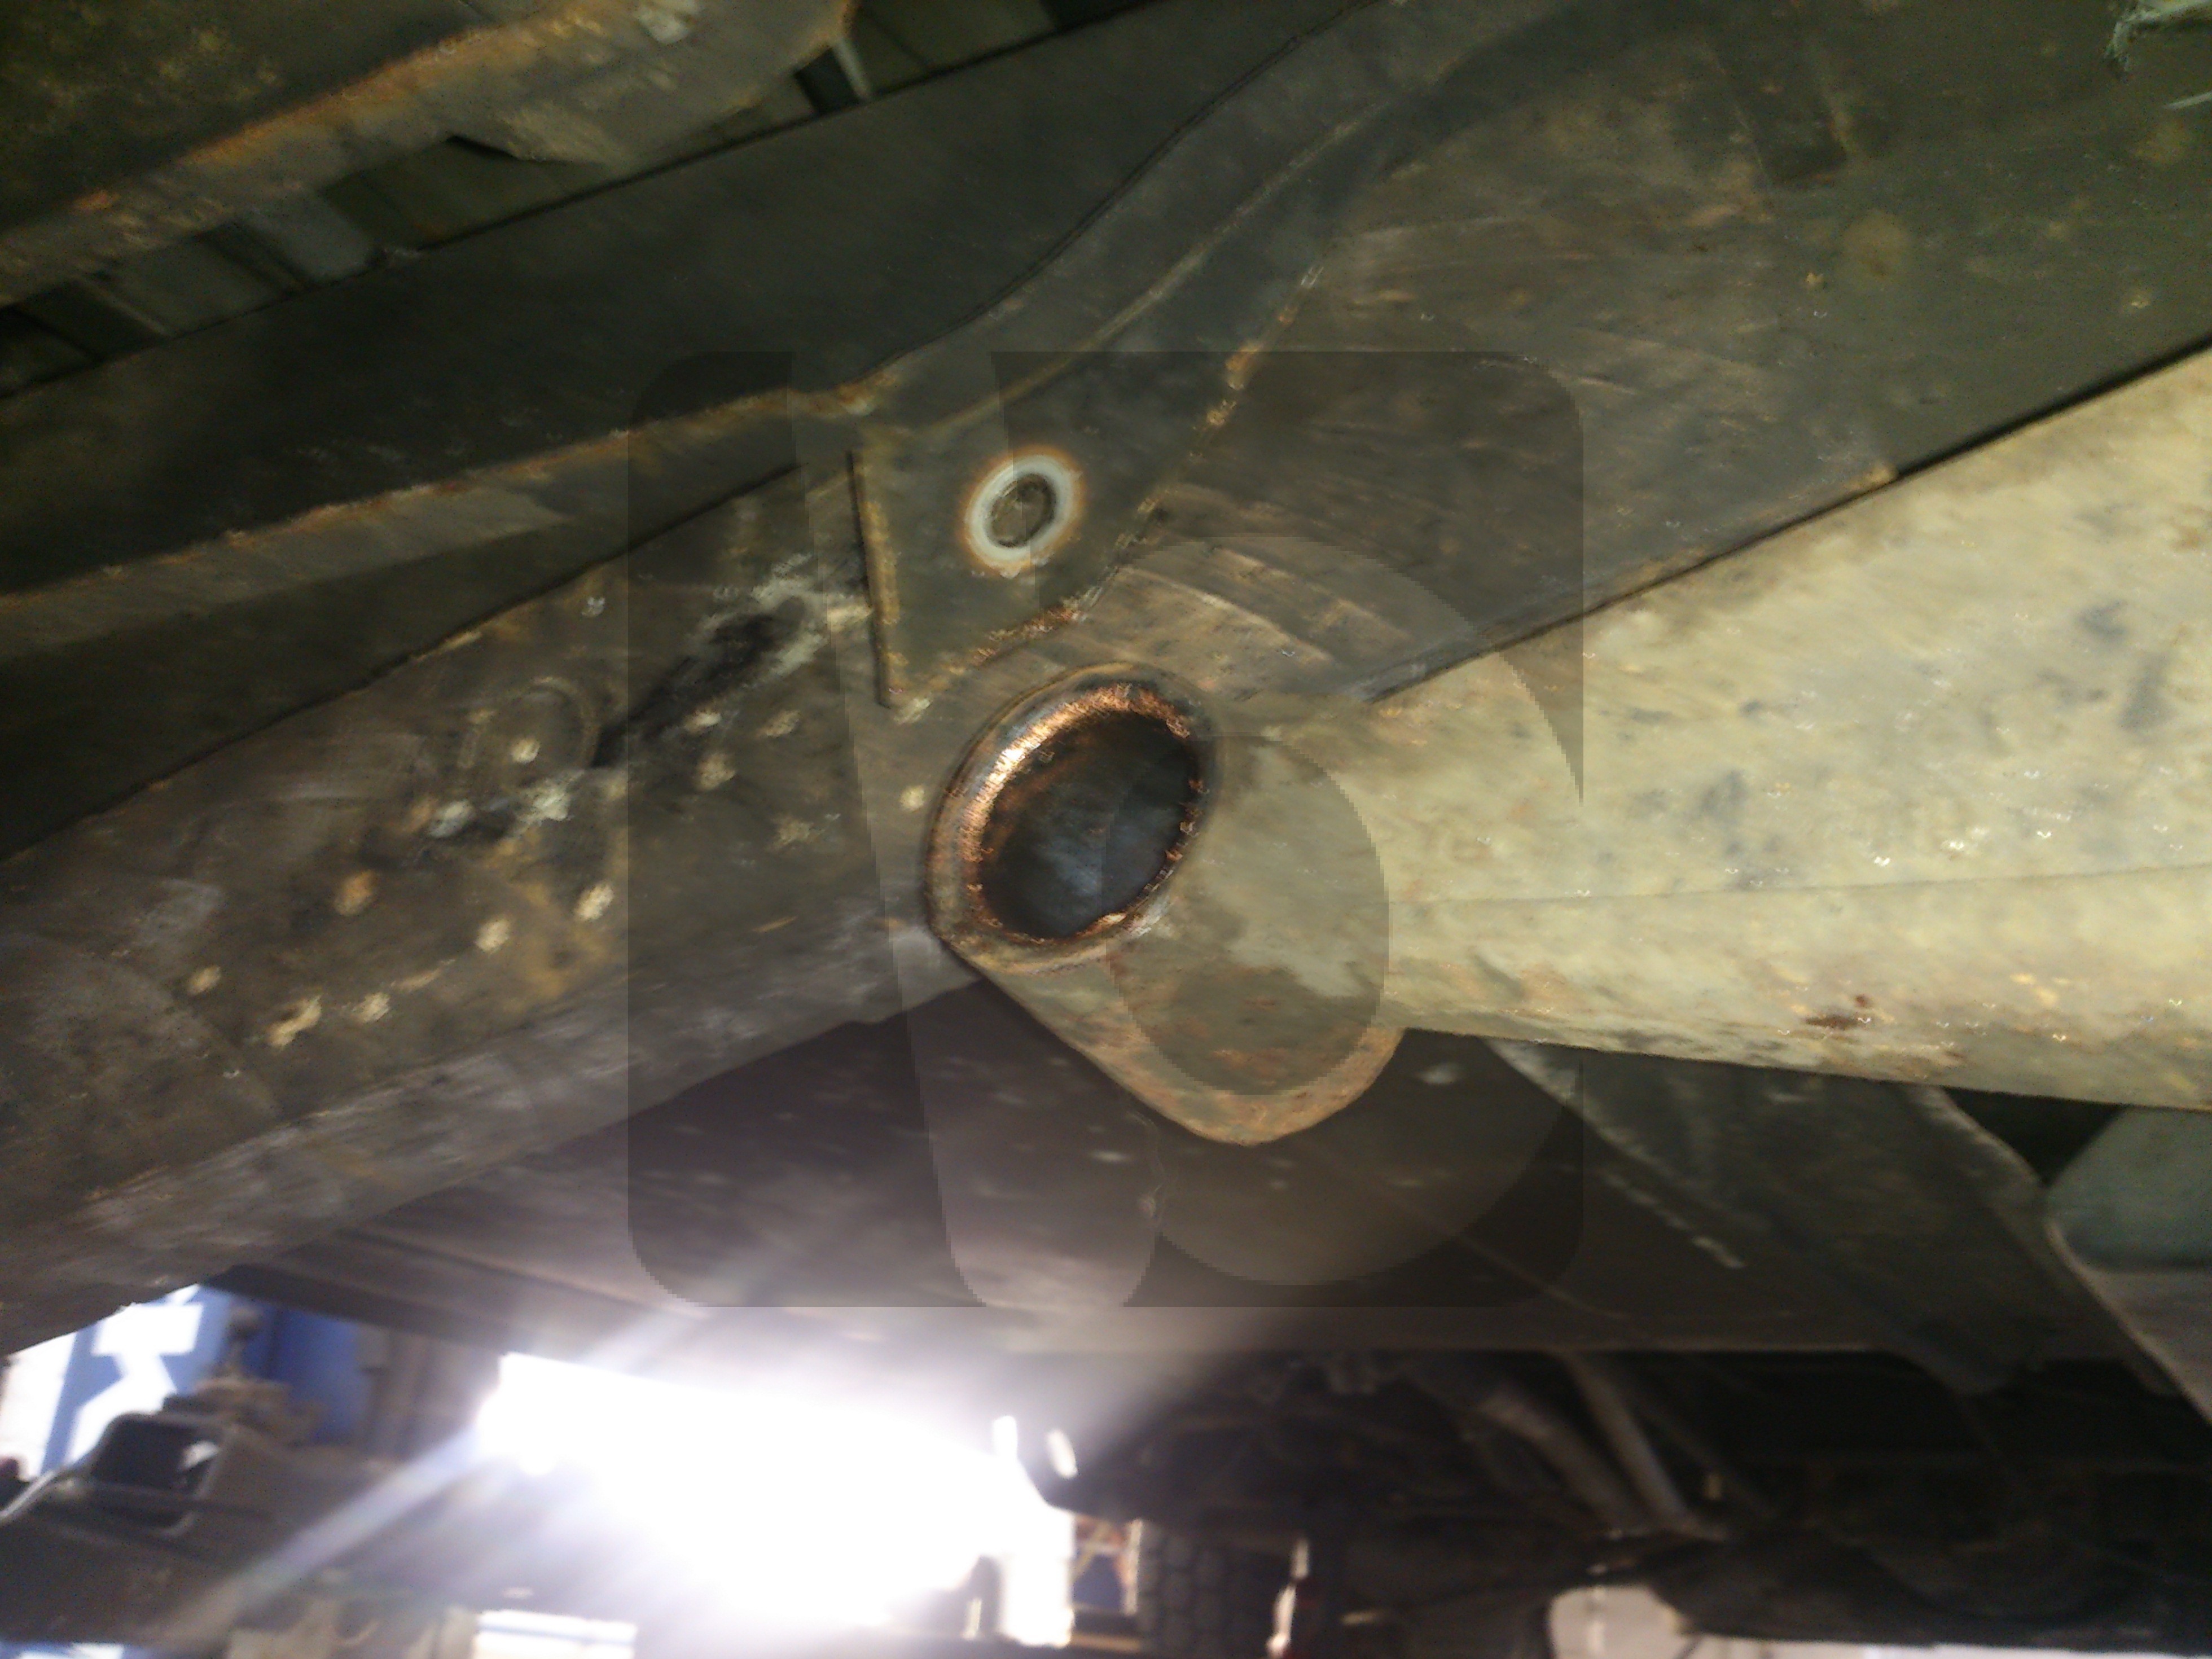
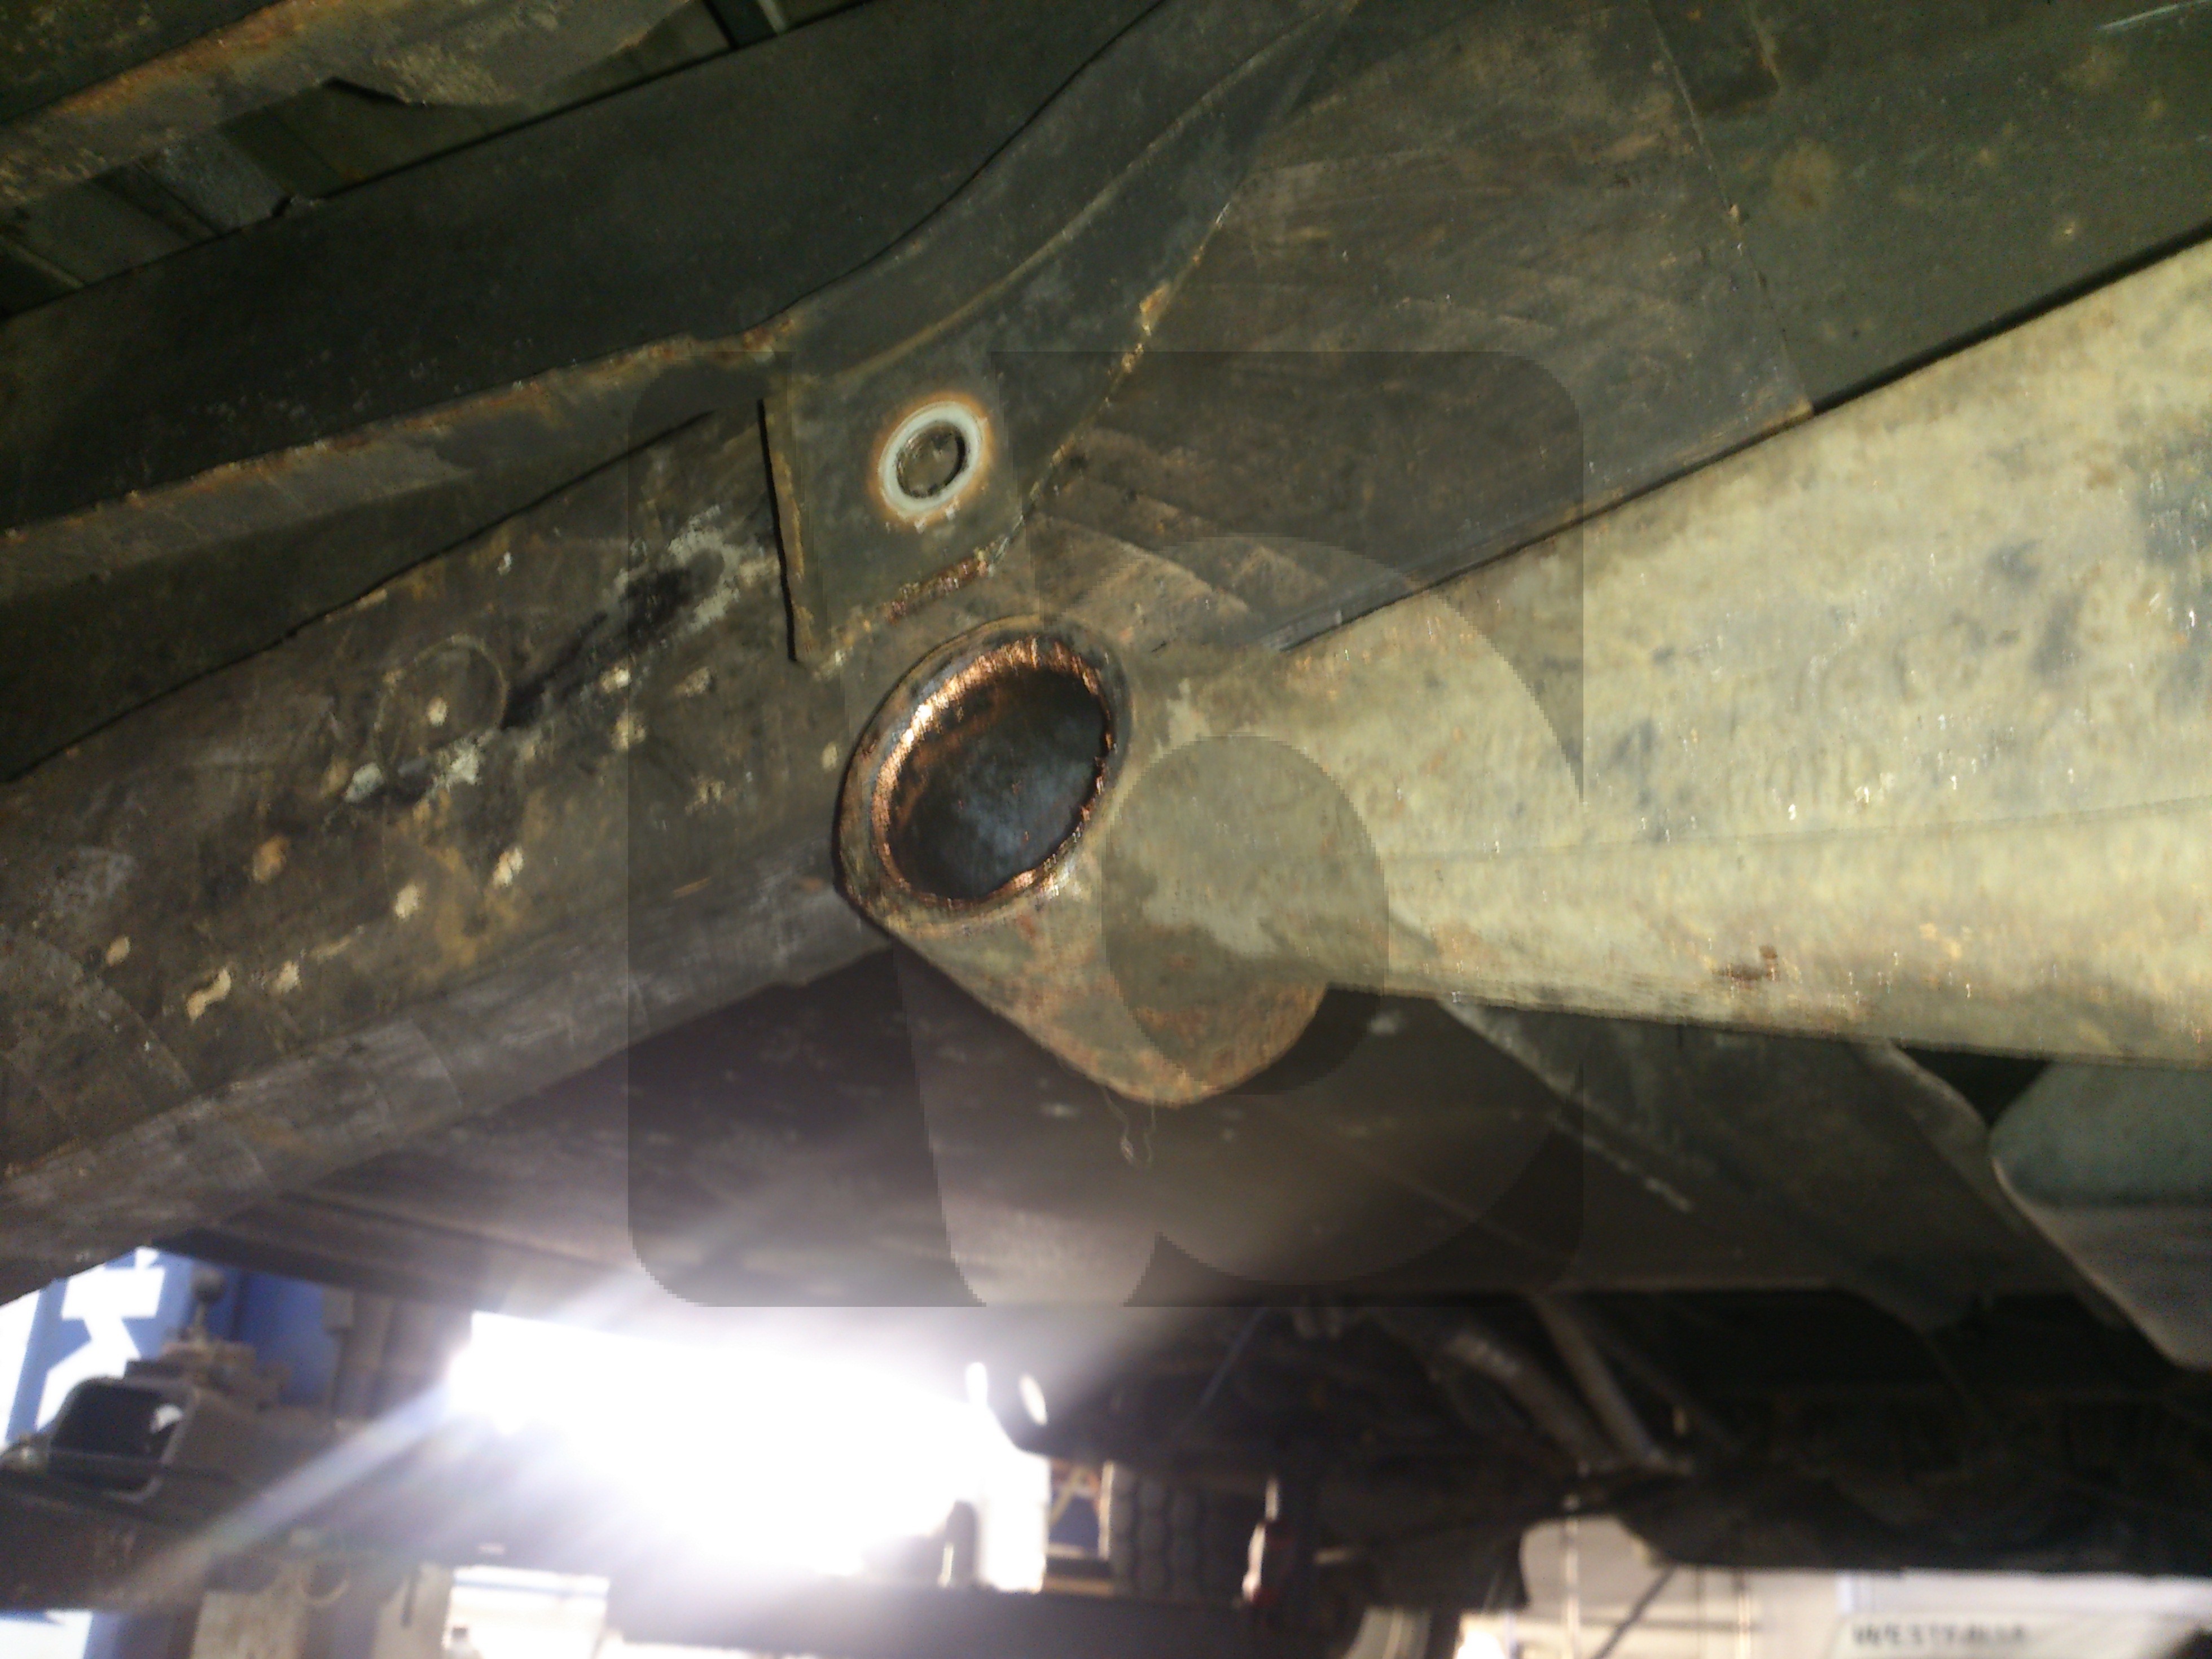
On Diesel engines the blue switch is usually at the far end of the cylinder head near the coolant outlet.

Then, the white/grey black are as follows.

On a WBX the switch is below and between the crank shaft pulley and the water pump pulley, on a Diesel it is on the oil filter head.

All petrol engines, DF, DG, DJ, MV [also SS, SP and SR] have a white switch for ’85, ’86 and ’87 model years. [10th digit of chassis number is F,G or H]

Then from ’88 model year to 1992 [H,J,K,L,M,N] there is a choice of either white or grey.

1.6l D engines with a CS code have a black sensor, they ran those until the end of the ’87 model year so 10th digit of VIN is F,G or H.

1.7D “KY” engines only came out for the ’85 model year, so, same as the “CS” above they have a black sensor for ’85, ’86 and ’87 [F,G and H], then from ’88 till the end of production it could either have a grey sensor or a black sensor.

The 1.6l TD “JX” engine came out for the ’85 model year, for the first 3 year [’85, ’86 and ’87] they had a grey 2nd switch, then from ’86 till ’92 model years they could either be grey or black.

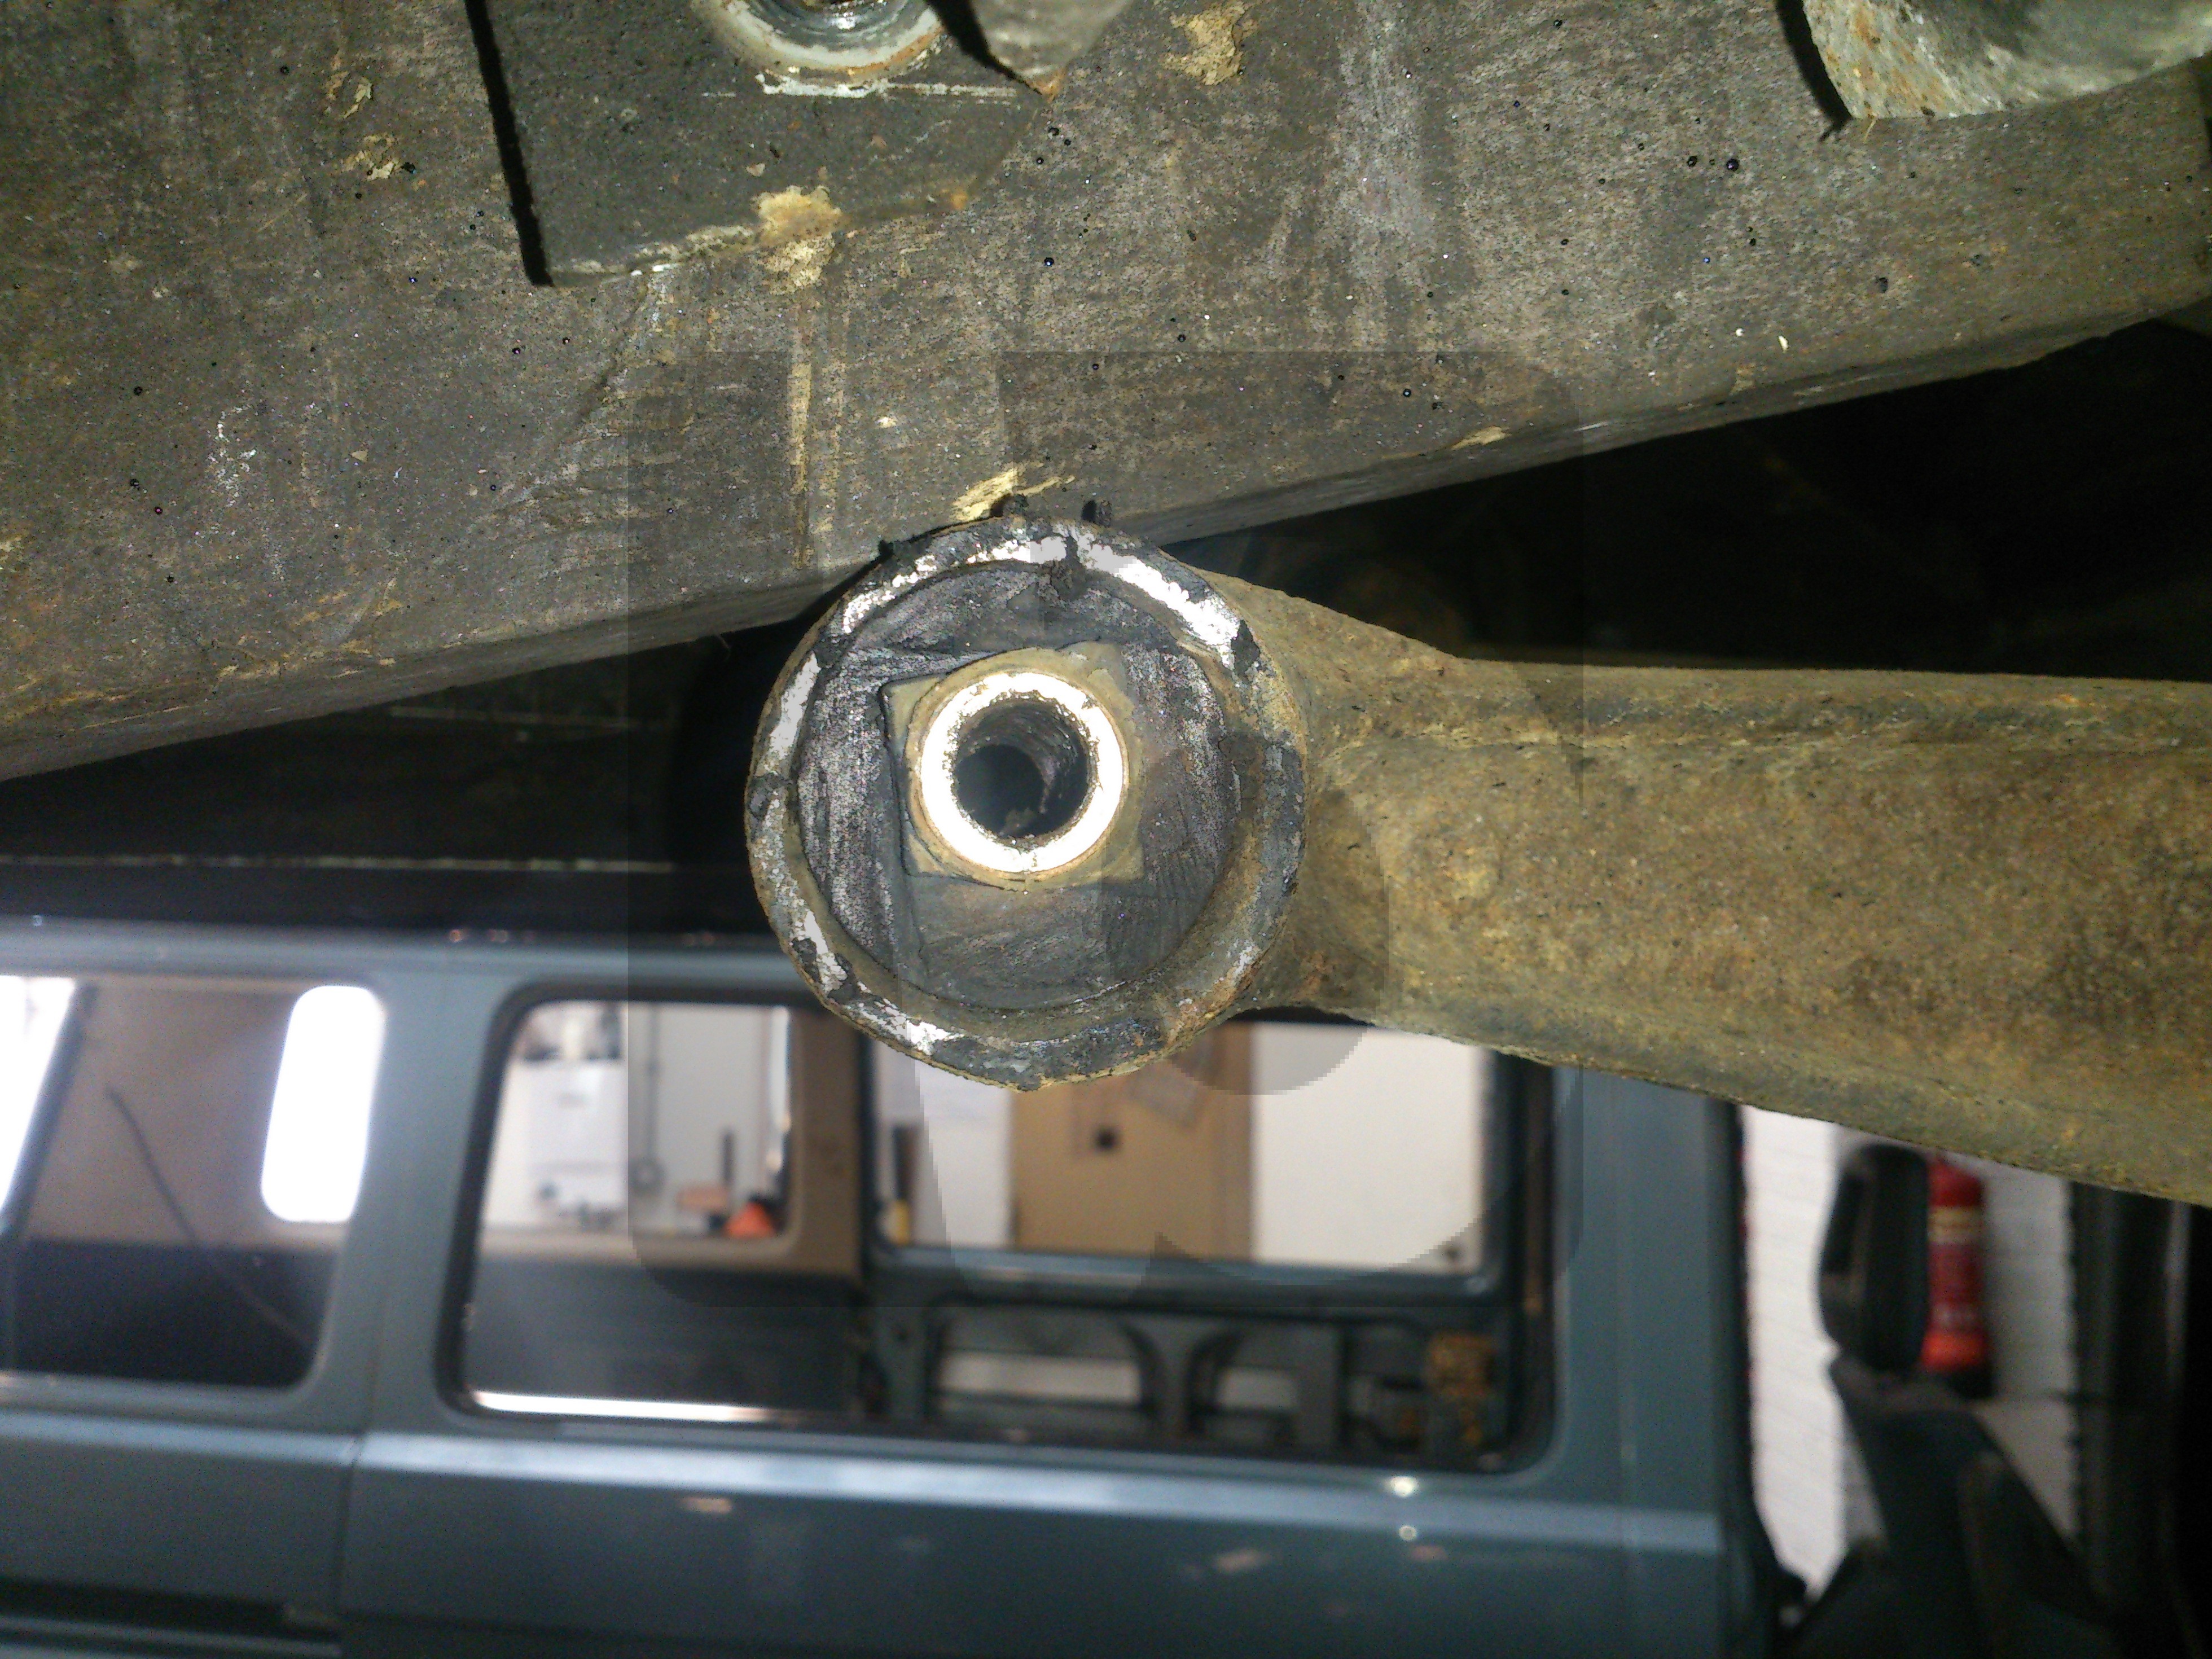
All sensors have a M10x1 thread, 24mm head, a 6.3mm male spade terminal and should be tightened to 30 Nm.

The only thing that messes this system up is that some cheaper sensors ignore the colour coding system, to us it is always better to fit a good quality sensor that retains the factory colour coding so there is no ambiguity in the future.

Blue oil pressure switch.

Black oil pressure switch

Grey oil pressure switch.

White oil pressure switch


Look, it’s like this..

..we’re shutting for a couple of days, no one has died, we haven’t had a fire or a flood, we’re just having a couple of days off!

So, Friday the 28th of June and Monday 1st of July not much will happen here, sorry!

It’s quite cool though because we’re going to Wolfsburg for the 75th anniversary of the town. Yey!

WolfsburgKraftwerk1

We will be posting things on for the last time before the break on Thursday 26th of June.

All the backlog [stock pending] will leave Tuesday the 2nd of July.

Currywurst here we come!